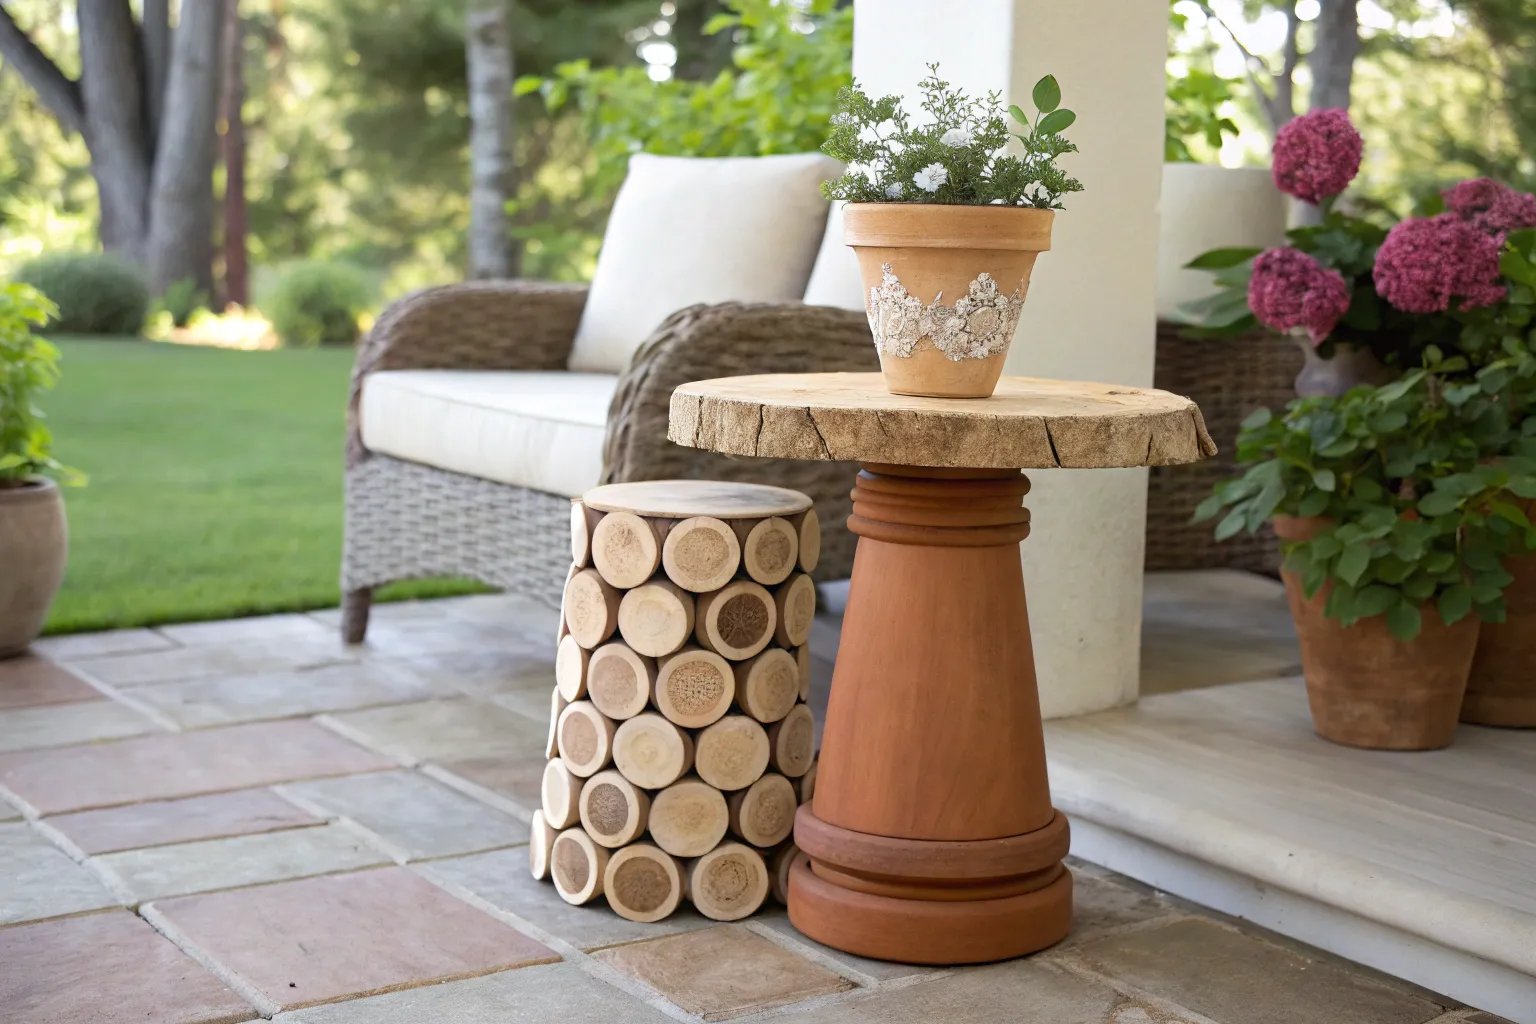
Creating functional outdoor furniture doesn’t require extensive woodworking skills or expensive materials. This simple yet elegant side table combines the timeless appeal of terra cotta with the natural beauty of wood, resulting in a piece that’s both practical and aesthetically pleasing.
Why This Design Works
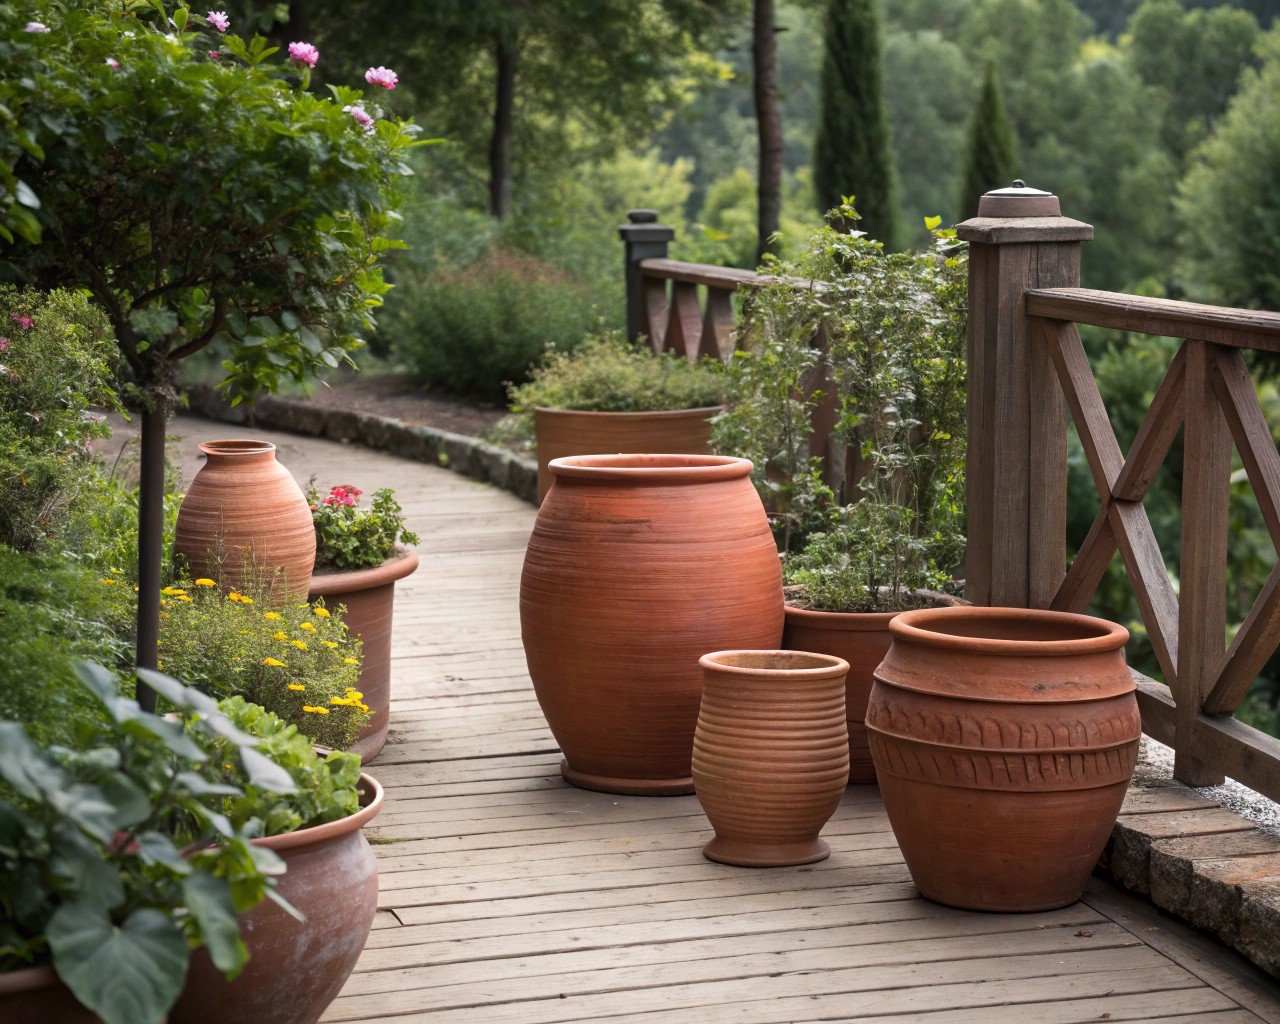
Terra cotta pots have been used in garden settings for centuries, and their natural porosity and earthy texture make them ideal for outdoor furniture projects. When paired with a wood disc top, they create a stable, weather-resistant table that complements both traditional and contemporary garden designs. The combination offers excellent drainage properties, natural insulation, and the ability to withstand temperature fluctuations that would damage other materials.
Materials and Tools Required
Essential Materials
Terra Cotta Components:
- 2 large terra cotta pots (minimum 16-18 inches in diameter, 20-24 inches in height)
- 1 large terra cotta saucer (matching the diameter of your largest pot)
Wood Components:
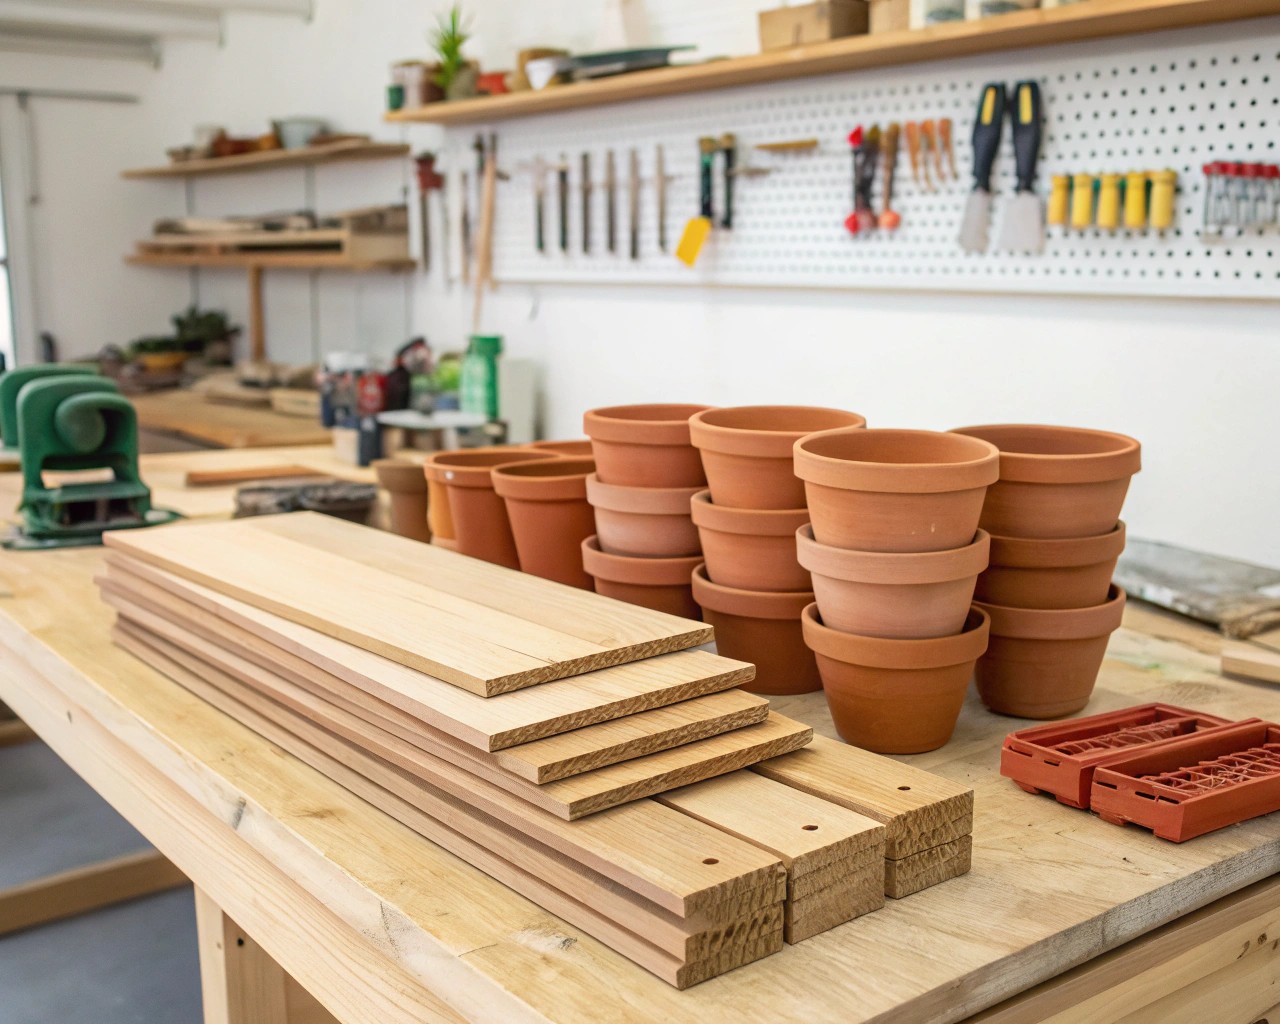
- 1 round wood disc (18-20 inches in diameter, 1.5-2 inches thick)
- Choose from cedar, white oak, or teak for optimal outdoor performance
- Avoid pine or red oak for long-term outdoor use
Hardware and Adhesives:
- Outdoor wood sealer or marine varnish
- 220-grit sandpaper
- Tack cloth
Recommended Tools
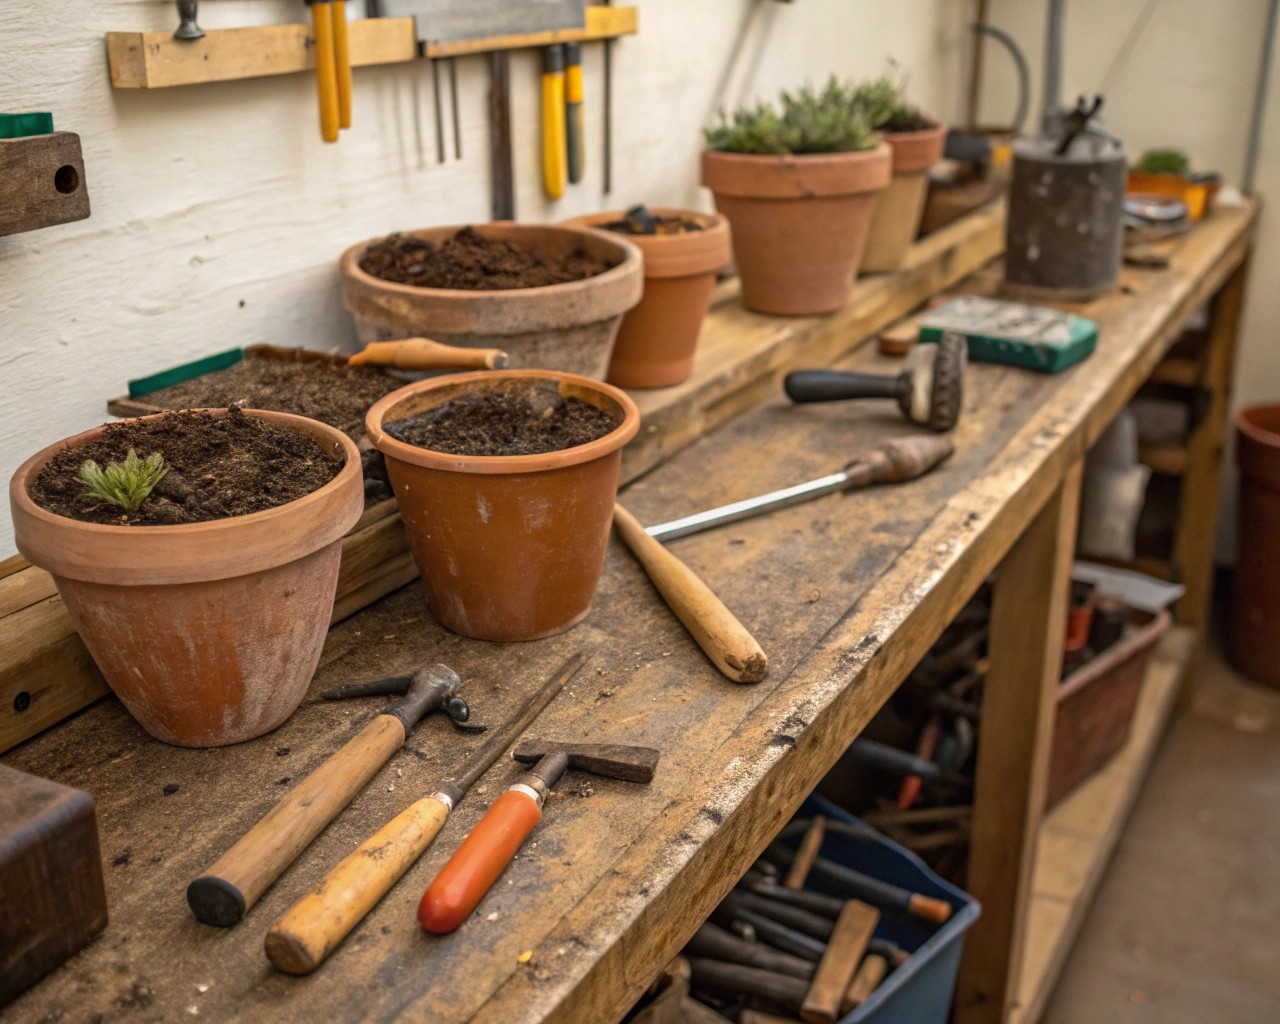
- Safety Equipment: Safety glasses, dust mask, work gloves
- Preparation Tools: Soft-bristled brush, lint-free cloths
- Application Tools: High-quality paint brush, foam applicator
- Measuring Tools: Tape measure, pencil
Wood Selection Guide
Choosing the right wood species is crucial for outdoor durability. Here’s what I recommend based on performance characteristics:
Top Choices for Outdoor Use
| Wood Species | Durability Rating | Weather Resistance | Maintenance Level | Cost |
|---|---|---|---|---|
| Teak | Excellent (75+ years) | Superior | Low | High |
| Cedar | Very Good (20+ years) | Good | Medium | Moderate |
| White Oak | Excellent | Good | Medium | Moderate |
| Acacia | Very Good | Good | Medium | Moderate |
Teak offers unparalleled durability with natural oils that repel water and resist decay. Cedar provides excellent insect resistance and natural weathering properties at a more accessible price point. White Oak contains tyloses that prevent water absorption, making it superior to red oak for outdoor applications.
Step-by-Step Construction Process
Phase 1: Preparation and Planning
Safety First
Always work in a well-ventilated area and wear appropriate personal protective equipment. Terra cotta dust can be harmful if inhaled, and wood finishing products require proper ventilation.
Workspace Setup
– Choose a level work surface protected with drop cloths
– Ensure adequate lighting and ventilation
– Gather all materials before beginning
Phase 2: Preparing the Terra Cotta Components
Cleaning the Pots
- Initial Cleaning: Remove any dirt, residue, or price tags using warm water and mild soap
- Surface Preparation: Allow pots to dry completely (24-48 hours) before proceeding
- Inspection: Check for cracks or chips that might compromise structural integrity
Sealing Considerations
While some prefer the natural aging process of unsealed terra cotta, sealing can extend the life of your table and provide better adhesion for the wood top. I recommend using a penetrating sealer specifically designed for porous clay materials.
Phase 3: Wood Disc Preparation
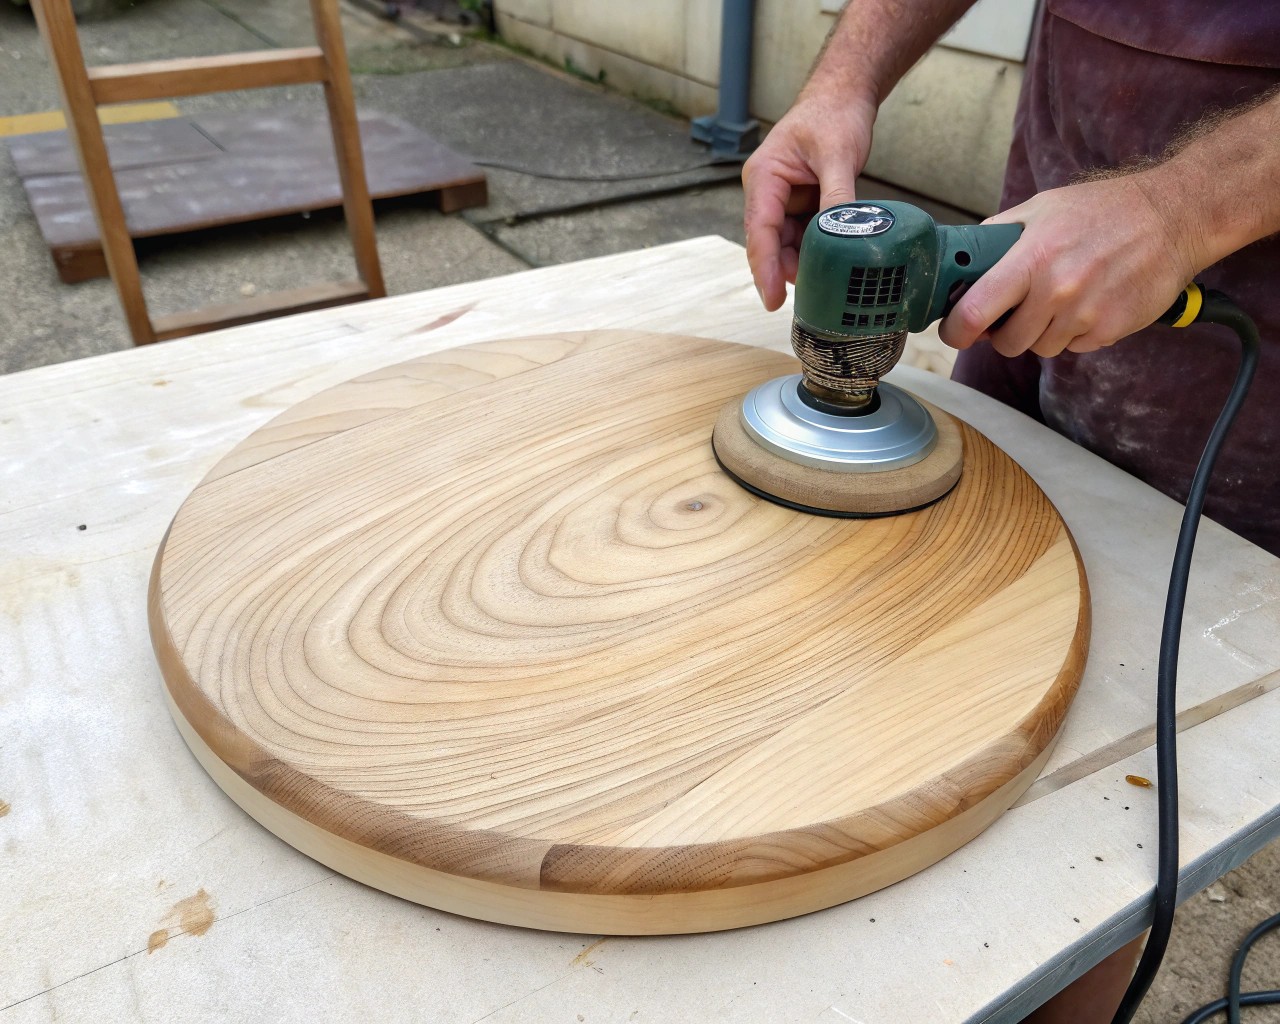
Surface Preparation
- Sanding: Begin with 120-grit sandpaper, progressing to 220-grit for a smooth finish
- Dust Removal: Use a tack cloth to remove all sanding residue
- Grain Assessment: Sand with the grain to avoid cross-grain scratches
Protective Finishing
Outdoor wood requires protection from UV rays, moisture, and temperature fluctuations:
Application Process:
- Apply wood conditioner if using softwood (follow manufacturer’s directions)
- Use marine varnish or high-quality outdoor wood sealer
- Apply 2-3 thin coats, allowing proper drying time between applications
- Sand lightly with 220-grit paper between coats
Phase 4: Assembly Techniques
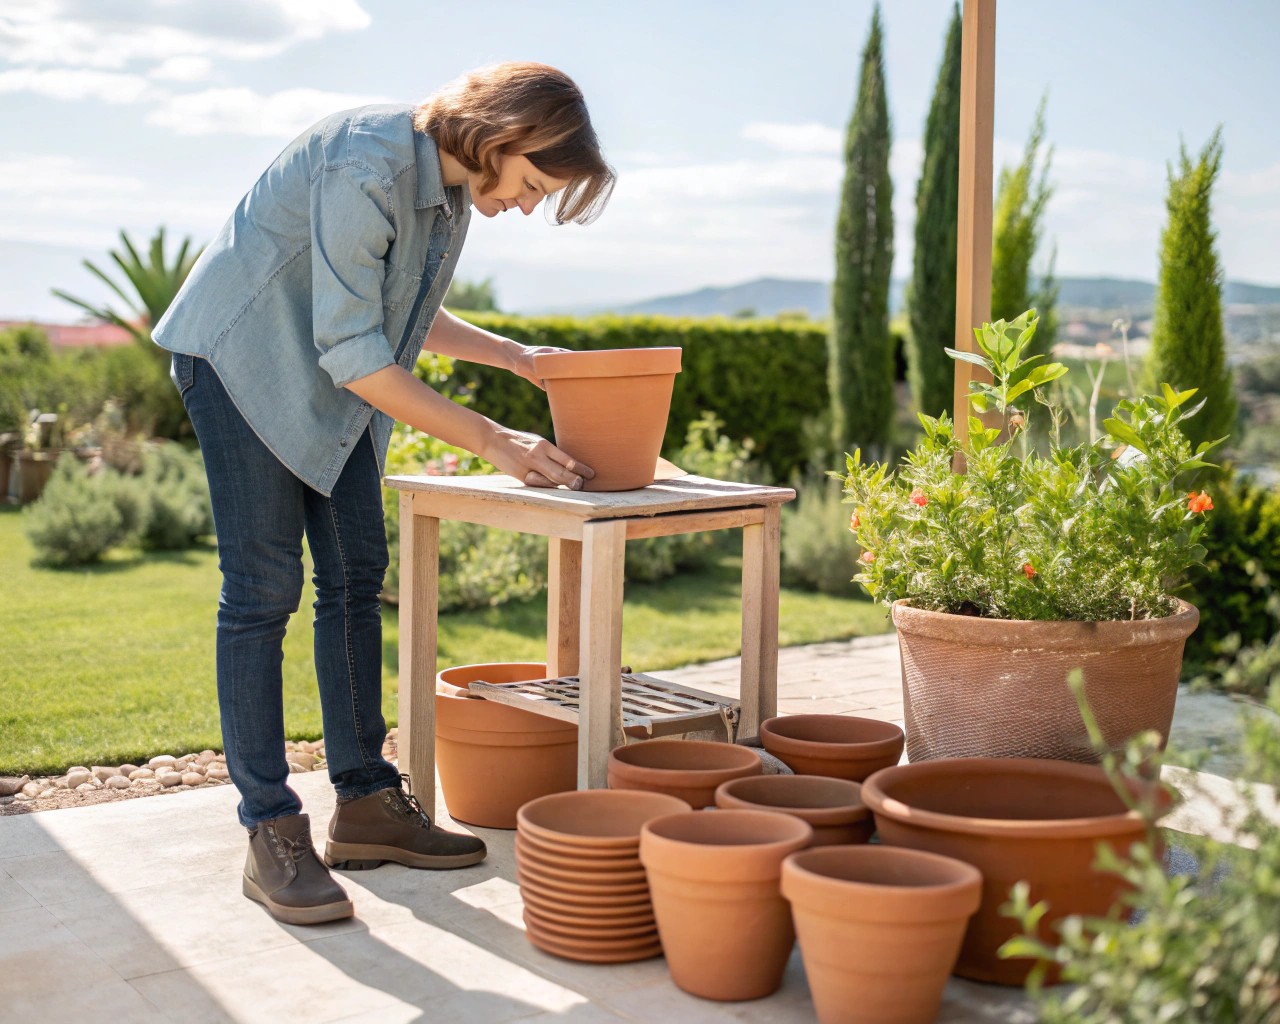
Adhesive Selection and Application
Choose between two primary bonding methods:
Method 1: Two-Part Epoxy (Recommended for Permanent Installation)
– Provides superior bond strength
– Ideal for cracked or slightly damaged pots
– 24-hour cure time ensures maximum strength
Method 2: Construction Adhesive
– Faster setting time
– Good for smooth, undamaged surfaces
– Allows for slight repositioning during setup
Assembly Process
- Dry Fit: Position components to ensure proper alignment
- Adhesive Application: Apply adhesive according to manufacturer’s specifications
- Assembly: Join components carefully, checking alignment
- Curing: Allow full cure time before use (24-48 hours minimum)
Design Variations and Customization
Height Adjustments
- Standard Configuration: Two pots stacked upright creates a 20-24 inch high table
- Lower Profile: Use one inverted pot as base with saucer as intermediate layer
- Adjustable Height: Insert spacers between components for custom sizing
Aesthetic Enhancements
Color Coordination
Paint the pot rims with outdoor acrylic paint to complement your deck furniture. Popular combinations include:
- Sage green rims with natural cedar top
- Terracotta bands with teak-stained wood
- White accents with weathered oak finish
Texture Treatments
Consider aging techniques for a more rustic appearance:
- Garden lime wash for weathered patina
- Light sanding for distressed edges
- Natural weathering for authentic aging
Safety Considerations and Best Practices
Structural Stability
Weight Distribution
Terra cotta pots filled with sand or gravel can provide additional stability in windy conditions, but ensure the wood top can support the additional weight without compromising the bond.
Surface Requirements
Always place your completed table on level surfaces. Uneven ground can cause stress on joints and lead to structural failure.
Load Limitations
Weight Capacity Guidelines:
- Standard configuration: 15-25 pounds maximum
- With base stabilization: Up to 40 pounds
- Consider table use when determining load limits
Usage Recommendations:
- Ideal for drinks, books, and lightweight decorative items
- Not suitable for heavy planters or equipment storage
- Avoid placing excessive weight on one side
Weather Protection
Seasonal Maintenance
– Inspect adhesive bonds annually
– Reapply wood finish every 2-3 years
– Store indoors during harsh winter conditions if possible
Storm Preparation
Secure or store lightweight furniture during high wind conditions to prevent damage to both the table and surrounding property.
Troubleshooting Common Issues
Adhesion Problems
Symptom: Wood disc shifts or separates from pot
Solution: Clean all surfaces thoroughly, use appropriate primer, and ensure adequate cure time
Prevention: Choose adhesives rated for outdoor use and dissimilar materials
Cracking in Terra Cotta
Symptom: Hairline cracks appear in pot walls
Solution: Use thin-set mortar or specialized clay adhesive to fill cracks
Prevention: Avoid rapid temperature changes, provide adequate drainage
Wood Weathering Issues
Symptom: Premature graying, cracking, or splitting
Solution: Strip, sand, and refinish with marine-grade sealant
Prevention: Regular maintenance schedule, proper initial sealing
Maintenance Schedule
Monthly Tasks
- Visual inspection for loose joints or surface damage
- Clean with mild soap and water as needed
- Check stability and levelness
Seasonal Tasks
- Spring: Deep clean, inspect for winter damage, touch up finish as needed
- Summer: Monitor for UV damage, reposition if excessive sun exposure
- Fall: Prepare for winter storage or protection
- Winter: Store indoors if possible, or protect with covers
Annual Tasks
- Complete structural inspection
- Refinish wood surface if needed
- Replace adhesive bonds if showing signs of failure
Cost Analysis and Value
Material Costs (Estimated)
| Component | Price Range | Notes |
|---|---|---|
| Terra Cotta Pots (2) | $40-$80 | Size and quality dependent |
| Wood Disc | $25-$75 | Species and size variable |
| Adhesives & Finishes | $20-$40 | Quality products recommended |
| Total Project Cost | $85-$195 | Compare to $150-$400 for comparable retail furniture |
Long-Term Value
When properly constructed and maintained, this table design offers:
- 10-15 year lifespan with regular maintenance
- Repairable components (wood top easily replaceable)
- Natural aging that enhances character over time
- Sustainable materials with minimal environmental impact
I’ve found that clients particularly appreciate the flexibility this design offers. The modular nature means components can be reconfigured or replaced individually, extending the useful life well beyond traditional outdoor furniture.
The combination of terra cotta and wood creates a piece that improves with age, developing the kind of patina and character that mass-produced furniture simply cannot replicate. With proper care and the techniques outlined in this guide, your handcrafted side table will provide years of reliable service while adding distinctive charm to your outdoor living space.

