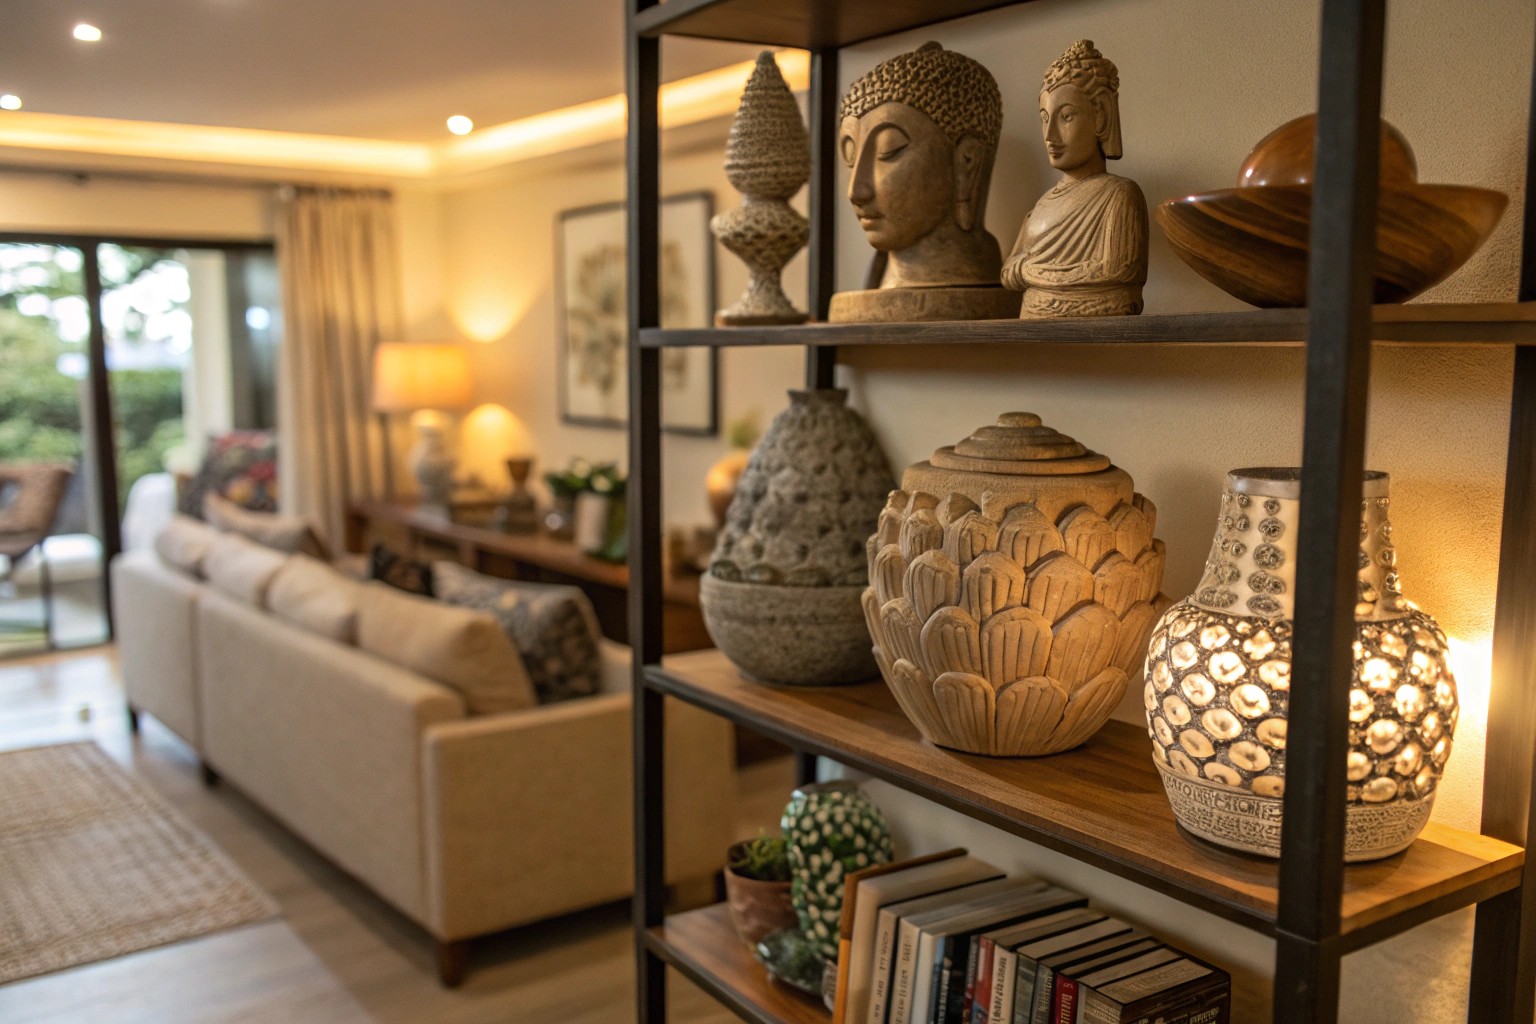
Creating a personal mini sculpture is one of interior design’s most rewarding endeavors, bridging the gap between functional decor and meaningful artistic expression. These small-scale works offer an intimate way to bring three-dimensional beauty into our daily living spaces while developing hands-on creative skills.
Understanding Mini Sculptures in Home Design
Mini sculptures represent a perfect intersection of art and interior styling, typically measuring between 4-12 inches in height. These compact artworks serve multiple purposes: they create visual focal points on shelves, add textural interest to flat surfaces, and provide opportunities for personal artistic expression within the home. Unlike larger statement pieces, mini sculptures integrate seamlessly into existing decor while offering the flexibility to rearrange and reconfigure as your design preferences evolve.
The appeal of shelf-sized sculptures lies in their ability to capture the essence of full-scale artwork in a format that works within real-world living constraints. I’ve observed that clients often gravitate toward these pieces because they provide artistic satisfaction without overwhelming smaller spaces or requiring significant wall real estate.
Selecting Your First Project
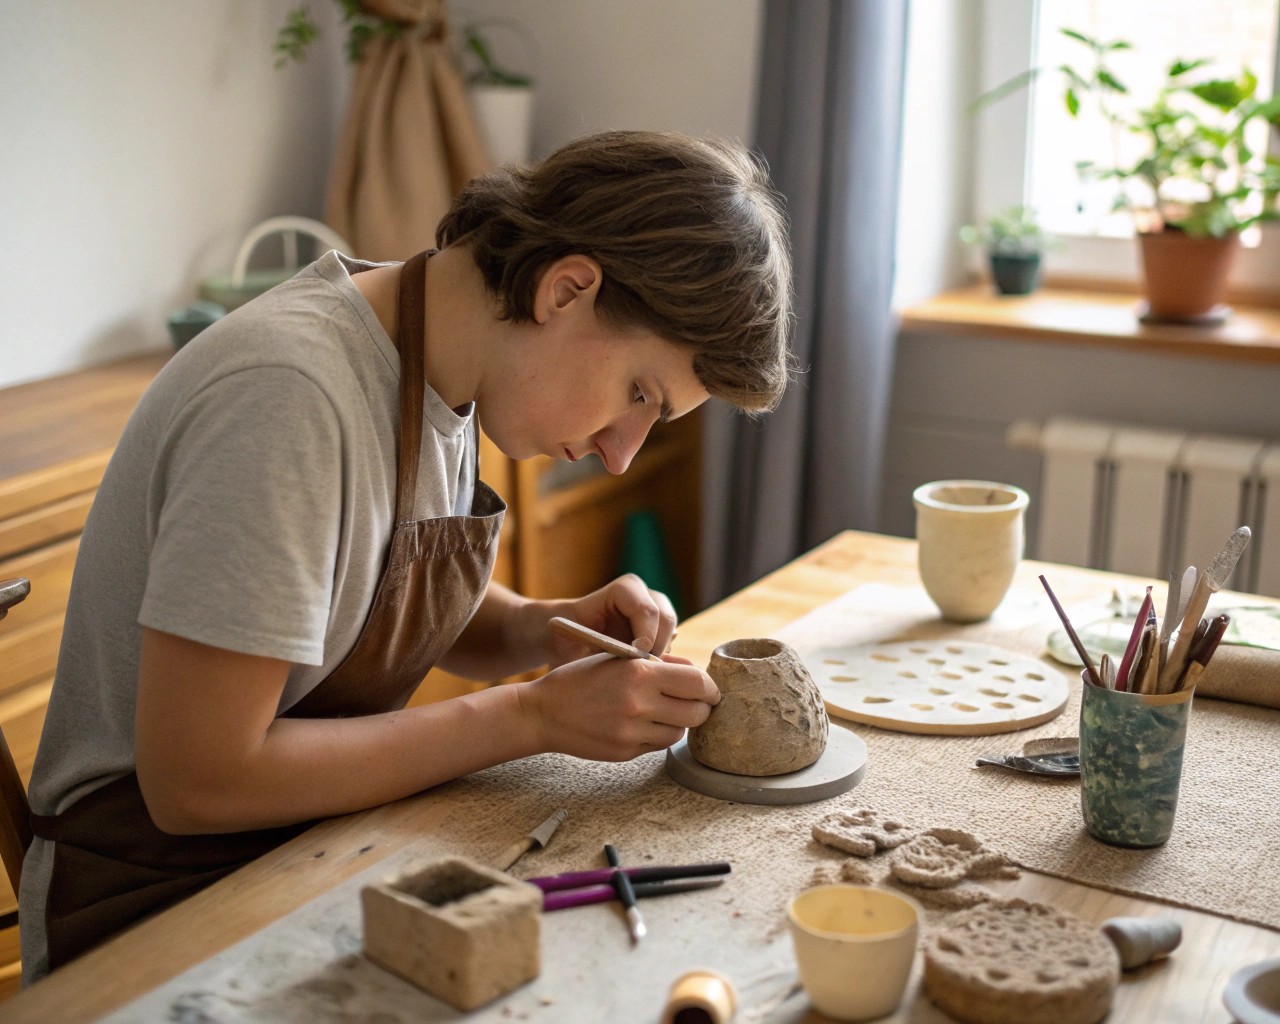
When choosing your inaugural mini sculpture, consider both your skill level and the intended display location. Beginner-friendly projects typically feature simple geometric forms, basic figurative elements, or abstract shapes that emphasize texture over complex details. The most successful first sculptures use recognizable subjects—simple animals, human faces, or plant forms—that allow you to focus on learning material properties rather than complex compositional challenges.
Size considerations matter significantly for shelf display. Aim for pieces between 6-10 inches in their largest dimension, as this scale creates visual impact without overwhelming surrounding decor elements. Consider the depth of your intended shelf; sculptures with footprints larger than 4-6 inches may appear unstable or crowd neighboring objects.
Essential Materials and Tools
Clay Selectionges as the ideal medium for home-based mini sculpture projects. Unlike traditional ceramic clay requiring kilns, air-dry varieties cure at room temperature over 24-48 hours, making them perfect for apartment studios or kitchen table workshops. Creative Paperclay stands out as a particularly forgiving option, offering excellent workability and strong final results.
For those seeking permanent results, polymer clay provides durability and vibrant color options. However, it requires oven curing at 275°F for 15-20 minutes per 1/4 inch of thickness, which may limit your project size based on your oven dimensions.
Essential Tool Collection
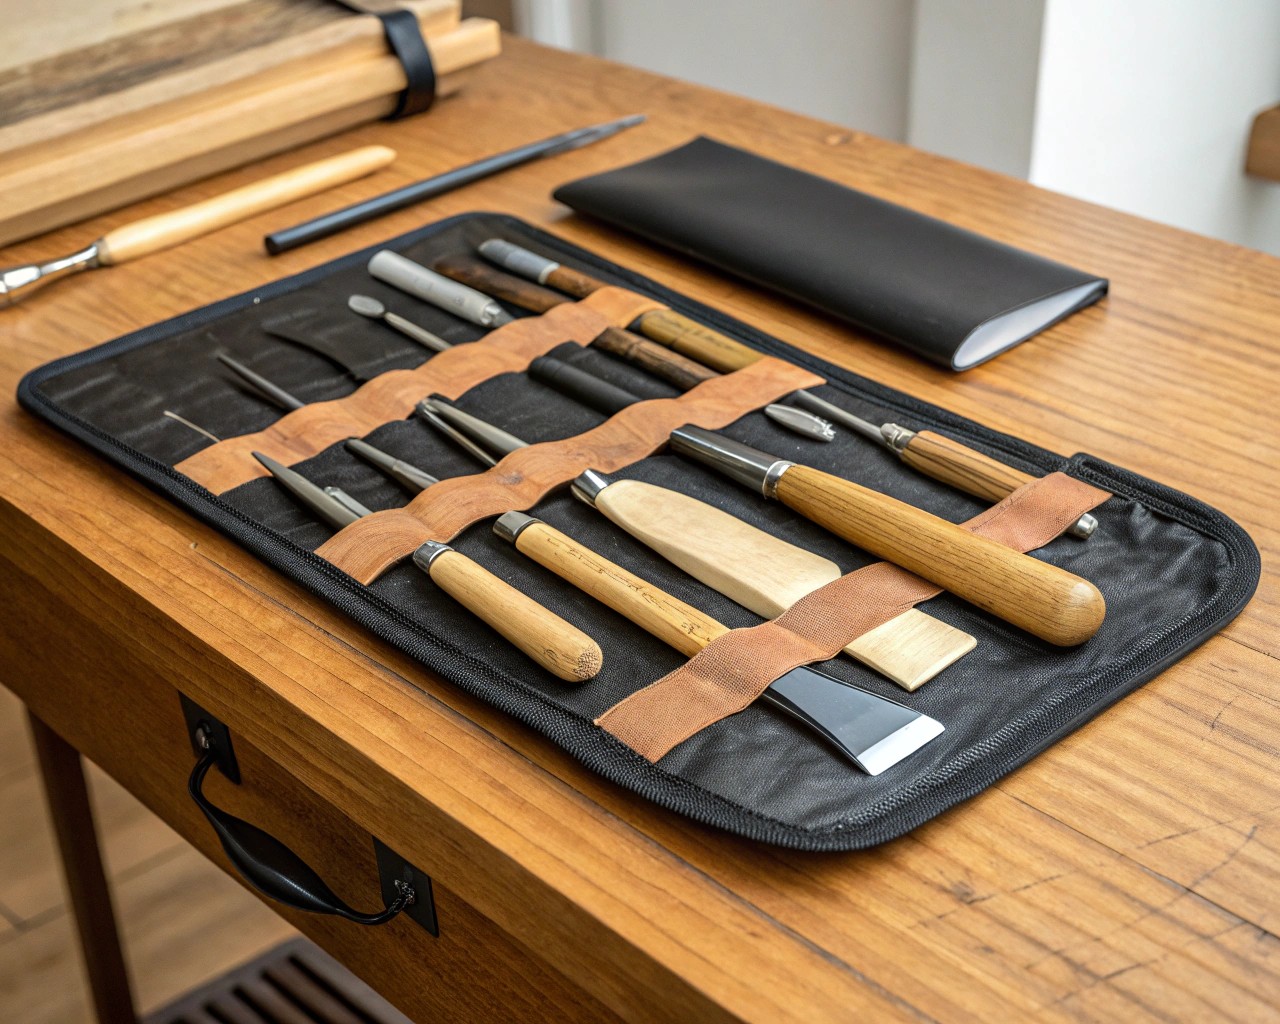
Professional sculpting tools aren’t necessary for creating beautiful mini sculptures. Many successful pieces emerge from improvised implements found in typical households. Your basic toolkit should include:
- Shaping tools: Plastic utensils, wooden dowels, and clay shapers provide excellent control for forming and refining surfaces
- Cutting implements: A sharp craft knife or clay wire cutter for removing excess material
- Texture creators: Toothpicks, forks, and textured fabrics add surface interest
- Smoothing aids: Damp sponges and soft brushes help achieve refined finishes
I recommend starting with this basic collection and expanding as your techniques develop. Many successful sculptors create their most distinctive works using simple, improvised tools rather than expensive professional equipment.
Fundamental Sculpting Techniques
Building Your Foundation
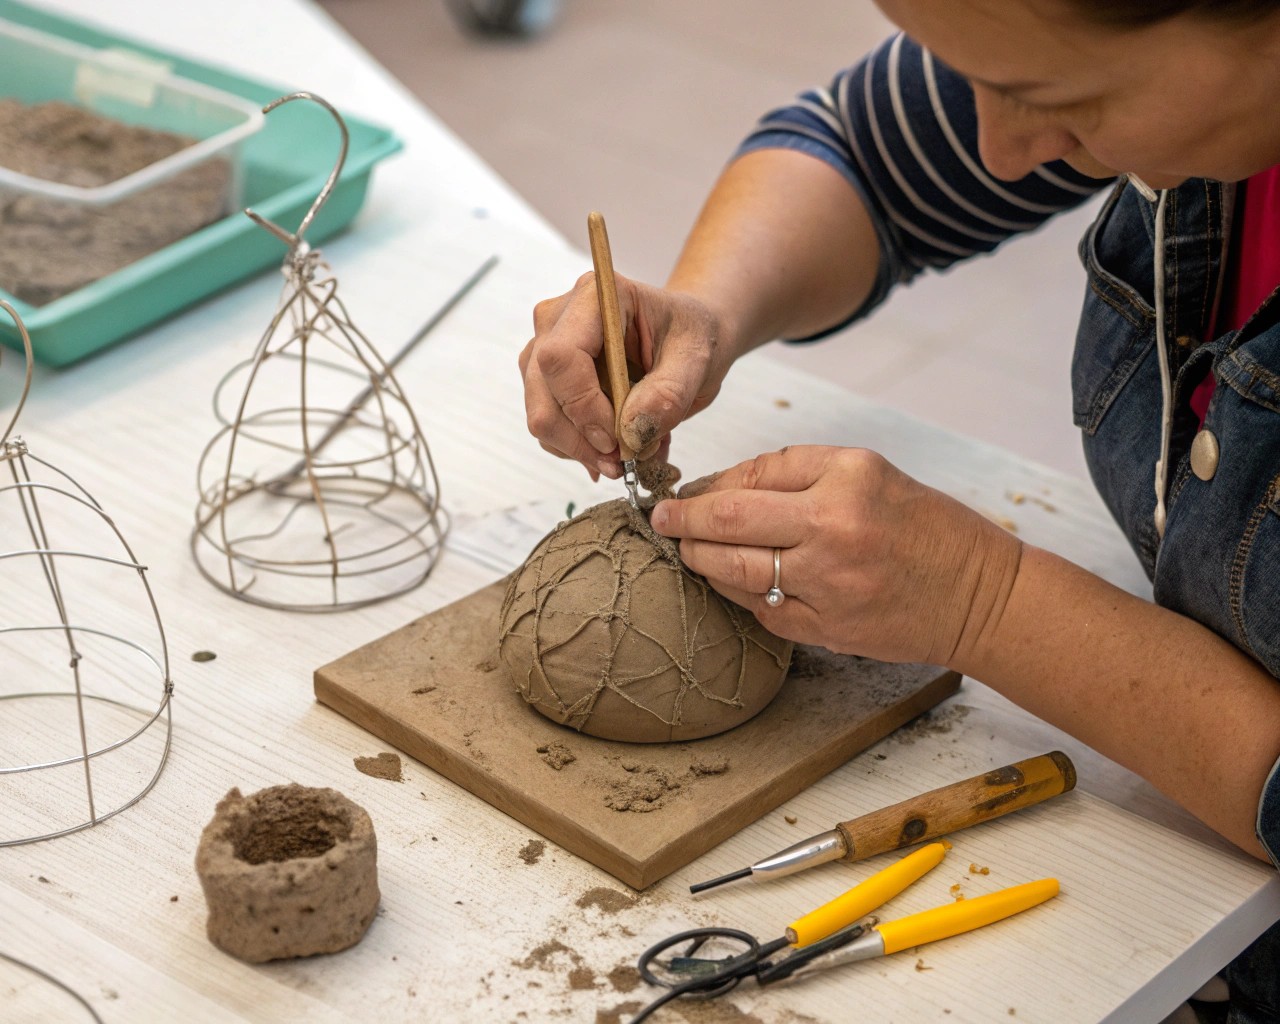
Every successful mini sculpture begins with proper foundation work. For figurative pieces, create a simple armature using aluminum foil or wire to provide internal structure. This skeleton prevents cracking during drying and provides stability for your piece. Keep armatures simple—complex internal structures often create more problems than they solve in small-scale work.
When working without armatures, use the pinching technique to establish basic forms. This method involves shaping clay by pinching between thumb and fingers, perfect for creating hollow forms like bowls, vessels, or organic shapes. Pinching naturally creates appropriate wall thickness for air-drying, reducing cracking risks.
Surface Development Techniques
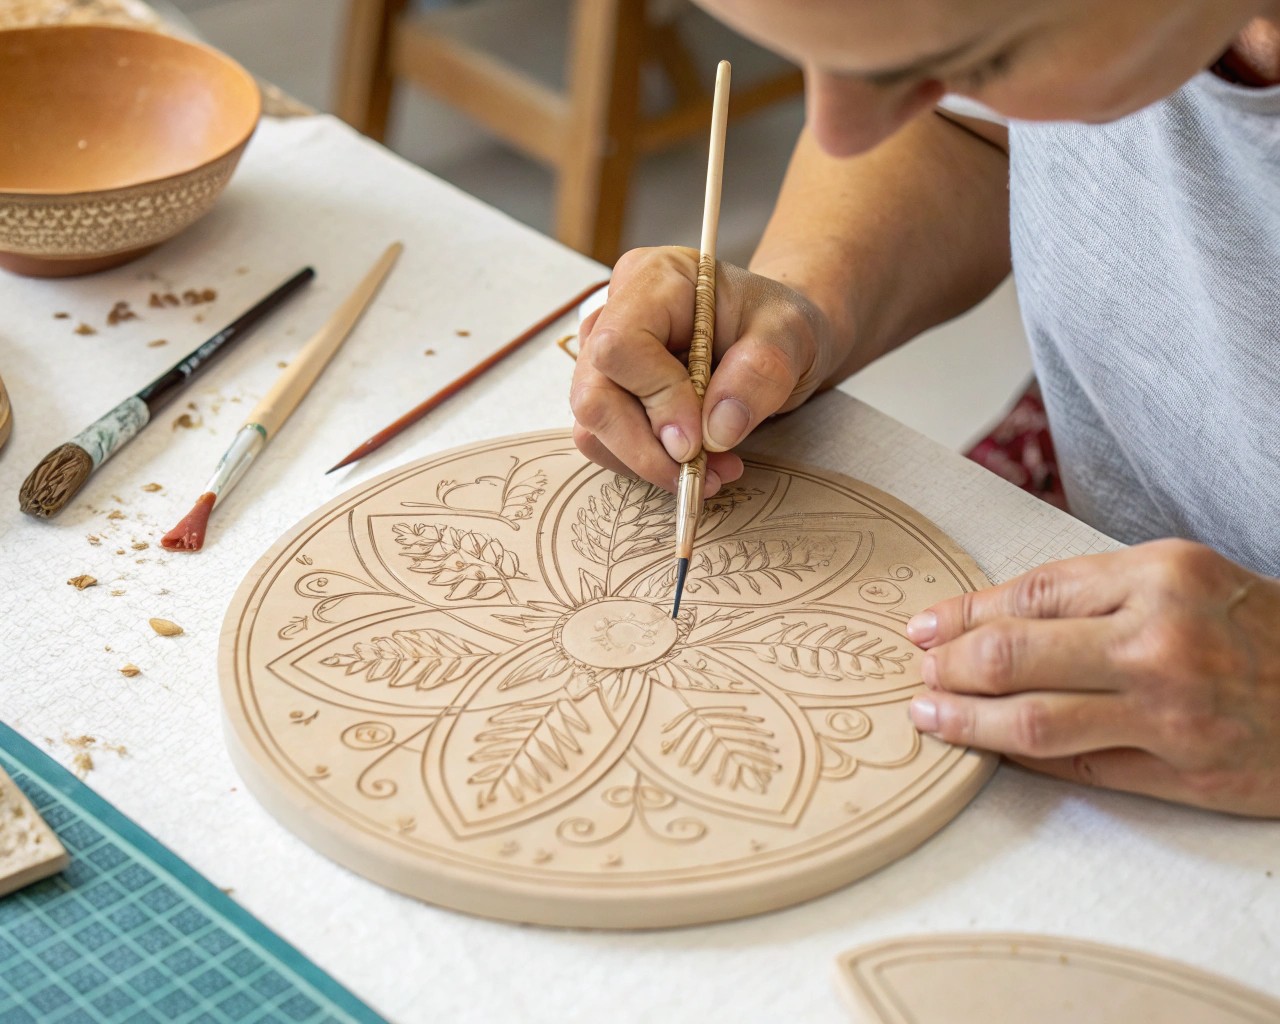
Additive building proves most effective for mini sculpture development. Rather than starting with a large clay mass and carving away material, build up your form gradually using small coils or slabs. This approach provides better control over proportions and allows for easier corrections during the working process.
Coiling technique: Roll clay into pencil-thick snakes, then spiral or stack them to build up volume. Smooth joints between coils using your fingers or tools, or leave them visible for textural interest.
Slab building: Roll flat clay sheets and cut shapes to construct geometric or architectural forms. This technique works particularly well for abstract sculptures or stylized buildings.
Surface texturing: Apply patterns using household items before clay hardens. Fabric, leaves, kitchen utensils, or carved stamps create distinctive surface treatments that add visual interest without requiring advanced modeling skills.
Safety and Workspace Considerations
Setting Up Your Workspace
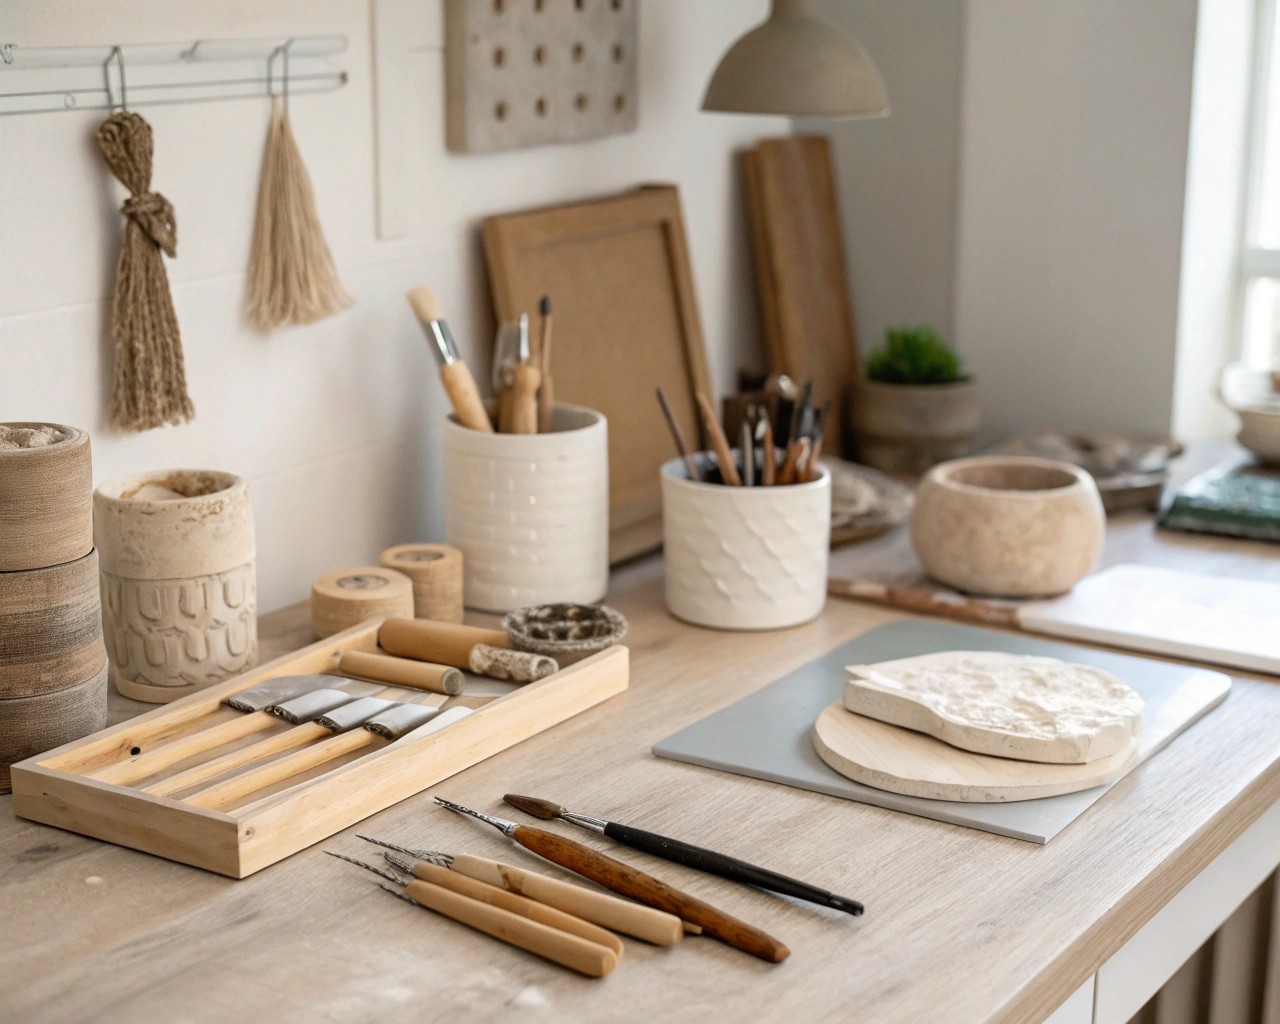
Establish a dedicated sculpting area with proper ventilation, even when working with air-dry materials. Clay dust, though seemingly harmless, can irritate respiratory systems over time. Position your workspace near a window or use a small fan to maintain air circulation.
Protect work surfaces with plastic sheeting or newspapers, and wear old clothing or aprons to prevent staining. Keep a small bowl of water nearby for tool cleaning and clay conditioning, and have paper towels readily available for quick cleanup.
Essential Safety Practices
While mini sculpture work involves fewer hazards than large-scale projects, basic safety practices ensure comfortable creative sessions:
- Hand protection: Use barrier cream or light gloves if you have sensitive skin
- Tool handling: Keep cutting tools sharp—dull blades require more pressure and increase accident risk
- Proper posture: Take regular breaks to prevent fatigue and maintain focus
- Eye protection: Wear safety glasses when cutting or sanding dried pieces
Never work when tired or distracted, and always cut away from your body when using sharp tools.
Design Principles for Small-Scale Success
Compositional Considerations
Mini sculptures benefit from simplified forms that read clearly at small scales. Complex details often become muddy or distracting when condensed into 6-8 inch pieces. Focus on strong silhouettes and bold, readable shapes rather than intricate surface decoration.
Consider viewing angles when designing your piece. Shelf sculptures are typically viewed from the front and sides rather than from all angles. Develop your most important visual elements on the front-facing surface while keeping side profiles clean and simple.
Proportion and Scale Relationships
Understanding proportion becomes critical in mini sculpture work. Human figures should maintain recognizable relationships between head, torso, and limbs, even in stylized interpretations. Animal subjects benefit from emphasizing characteristic features—a cat’s whiskers, a bird’s crest, or a dog’s distinctive ear shape—that immediately communicate the subject.
Use the “hierarchy of detail” principle: establish major forms first, add secondary elements, then include tertiary details only if they enhance rather than complicate the overall composition.
Step-by-Step Project: Simple Abstract Form
Let’s create a flowing, organic mini sculpture perfect for contemporary shelf displays:
Materials Needed
- 1 pound air-dry clay
- Basic shaping tools
- Water container
- Plastic covering for work surface
Process Overview
Day 1: Initial Forming
1. Condition clay by kneading until pliable and smooth
2. Create a simple teardrop shape approximately 8 inches tall
3. Hollow the form by removing clay from the bottom, leaving 1/2-inch walls
4. Add gentle curves and flowing lines using finger pressure
5. Refine the silhouette and smooth any cracks
6. Cover with plastic and allow to firm slightly overnight
Day 2: Refinement and Finishing
1. Remove plastic and assess the form’s stability
2. Add subtle surface textures using tools or natural materials
3. Create one or two gentle openings to add visual interest
4. Smooth all surfaces and ensure even wall thickness
5. Sign your piece discretely on the bottom
6. Allow to air-dry completely (24-48 hours depending on thickness)
This project introduces fundamental forming techniques while creating an attractive display piece suitable for various interior styles.
Advanced Techniques and Texturing
Surface Enhancement Methods
Once comfortable with basic forming, explore advanced surface treatments that add visual sophistication. Slip trailing involves applying liquid clay in decorative patterns using squeeze bottles or syringes. This technique creates raised linear elements perfect for botanical or geometric designs.
Impressed texturing uses objects pressed into soft clay to create patterns. Natural materials like leaves, bark, or shells create organic textures, while manufactured items like fabric, mesh, or carved stamps produce more controlled patterns.
Sgrafitto technique involves applying contrasting clay colors in layers, then scratching through upper layers to reveal underlying colors. This approach works well for decorative elements on figurative pieces or abstract color studies.
Working with Multiple Components
Advanced mini sculptures often combine separately formed elements assembled during the leather-hard stage. This approach allows for more complex compositions while maintaining structural integrity. Create individual components—perhaps a figure and base, or multiple abstract forms—then join them using score-and-slip attachment methods.
When planning multi-component pieces, consider how elements will dry at different rates. Thinner sections cure faster than thick areas, potentially causing stress cracks at joints. Wrap thinner elements in damp paper towels while thicker sections catch up in the drying process.
Display and Integration Strategies
Shelf Placement Principles
Successful mini sculpture display follows established interior design principles while accommodating the unique properties of three-dimensional art. Position sculptures with adequate breathing room—at least 2-3 inches from surrounding objects—to prevent visual crowding.
Consider sight lines when placing pieces on shelves. Most shelf sculptures are viewed from seated positions, so optimize the piece’s orientation for eye-level viewing from typical seating arrangements. This might mean angling the sculpture slightly forward or ensuring the most interesting details face the primary viewing position.
Creating Visual Balance
Integrate mini sculptures into existing shelf arrangements using the “rule of triangles”. Create imaginary triangular compositions by varying heights of objects across your shelf display. A tall sculpture might anchor one corner, with medium-height books in the center, and a low decorative bowl completing the triangle.
Weight distribution matters visually as well as physically. Balance heavier, darker sculptures with lighter, more delicate objects to prevent visual “tipping” of your shelf arrangement. A substantial bronze-finished piece requires counterbalancing with appropriately scaled items elsewhere on the shelf.
Color coordination helps sculptures integrate seamlessly with existing decor. Consider your sculpture’s final finish when planning placement—will it complement existing color schemes, or do you need to adjust surrounding elements to accommodate the new piece?
Lighting Considerations
Proper lighting dramatically affects how mini sculptures appear in their display environment. Natural light from nearby windows creates dynamic shadow play throughout the day, adding visual interest to textured surfaces. However, avoid prolonged direct sunlight, which can cause some materials to fade or become brittle over time.
Artificial lighting options include directed LED spots that highlight specific pieces, or ambient lighting that creates subtle shadow effects. Small battery-operated LED lights can be concealed behind sculptures to create dramatic backlighting for translucent or perforated pieces.
Maintenance and Longevity
Caring for Air-Dry Clay Sculptures
Air-dry clay sculptures require minimal maintenance but benefit from occasional attention to preserve their appearance. Dust regularly using soft brushes or compressed air to prevent accumulation in textured areas. Avoid water-based cleaning methods unless the piece has been sealed with appropriate protective coatings.
If your sculpture develops minor chips or cracks, repair them using small amounts of fresh air-dry clay mixed with a drop of white glue. Smooth the repair with damp fingers and allow to cure completely before handling.
Environmental Considerations
Position sculptures away from heating vents, radiators, or frequently opened windows where temperature and humidity fluctuations might cause material expansion and contraction. While air-dry clay is relatively stable, extreme conditions can cause cracking or warping over time.
Consider applying a clear matte sealer to sculptures intended for long-term display, especially in households with pets or children where handling is likely. Water-based polyurethane provides protection without significantly altering the clay’s natural appearance.
Expanding Your Skills
Exploring Different Materials
Once comfortable with air-dry clay, experiment with alternative materials that offer different working properties and final appearances. Polymer clay provides more detailed capability and permanent color options, while paper clay offers superior strength for delicate elements.
Mixed media approaches combine clay with other materials like wire, fabric, or found objects. These hybrid techniques expand creative possibilities while teaching valuable skills about material compatibility and adhesion methods.
Developing Personal Style
Successful mini sculptors develop recognizable personal approaches through consistent exploration of favored subjects, techniques, or aesthetic preferences. Document your progress through photographs, noting which approaches produce results you find most satisfying.
Study sculptors whose work resonates with your aesthetic preferences, but avoid direct copying. Instead, analyze what makes their work effective—perhaps their use of simplified forms, distinctive texturing, or particular subject matter—and adapt these insights to your own creative development.
Troubleshooting Common Issues
Preventing and Addressing Cracks
Cracking represents the most common challenge in mini sculpture work. Prevention starts with proper clay preparation—ensure clay is evenly conditioned and free from air bubbles before beginning. Work in moderate temperature and humidity conditions when possible, and avoid forced drying using heat sources.
If cracks appear during drying, act quickly while clay remains somewhat flexible. Wet the crack lightly with a damp brush, then work fresh clay into the fissure using a small tool. Smooth the repair and slow the drying process by covering the piece with plastic for several hours.
Structural Stability Solutions
Mini sculptures sometimes develop stability issues as they dry and shrink. If your piece becomes top-heavy or tippy, add material to the base rather than removing material from the top, which might compromise your intended design.
For pieces that consistently fall over, consider mounting them on small wooden bases or incorporating the base as part of the sculptural design. A slightly larger footprint often solves stability issues without dramatically altering the piece’s appearance.
Surface Finish Problems
Uneven drying sometimes creates blotchy or rough surface finishes. Light sanding with fine-grit sandpaper can smooth minor imperfections once the piece is completely dry. Always wear a dust mask when sanding and work in a well-ventilated area.
For surfaces that remain too rough for your intended finish, consider applying a thin coat of diluted clay slip (clay mixed with water to a cream consistency) using a soft brush. This technique can unify surface texture while filling minor imperfections.
Building a Collection
Series Development
Many sculptors find satisfaction in creating themed series rather than individual isolated pieces. Series might explore variations on a single form, progressive size relationships, or different interpretations of a common subject. This approach allows for deeper exploration of techniques while creating cohesive display groupings.
Consider seasonal themes, color progressions, or technical challenges as organizing principles for series work. A series of small vessels might progress from simple geometric forms to more complex organic shapes, demonstrating your technical development while creating an interesting display group.
Documentation and Growth
Photograph your completed pieces from multiple angles to track your artistic development over time. Keep notes about successful techniques, material combinations, and creative insights for future reference. This documentation becomes valuable when planning future projects or teaching others.
Share your work with others, whether through social media, local art groups, or informal home displays. Feedback helps identify strengths in your work while suggesting directions for future exploration.
Professional Applications and Skill Development
Teaching and Sharing Skills
As your confidence grows, consider sharing your knowledge with others through informal workshops or community classes. Teaching reinforces your own understanding while contributing to your local creative community. Many successful sculptors find that teaching improves their own work by forcing them to articulate techniques and design principles clearly.
Expanding into Related Disciplines
Mini sculpture skills transfer readily to other creative pursuits including jewelry making, pottery, and mixed media art. The spatial reasoning, material understanding, and hand coordination developed through sculpture work enhance performance in numerous craft disciplines.
Consider how your sculpture interests might complement other aspects of interior design. Understanding three-dimensional form relationships improves your ability to arrange furniture, select decorative objects, and create cohesive room layouts.
Seasonal and Thematic Projects
Holiday and Celebration Pieces
Mini sculptures make excellent personalized gifts and seasonal decorations. Small Halloween figures, winter holiday ornaments, or spring garden themes provide focused project goals while developing your skills. These pieces often receive more use and appreciation than larger works, making them particularly rewarding to create.
Valentine’s Day hearts, autumn leaf forms, or summer garden vegetables offer recognizable subjects that allow for creative interpretation while remaining accessible to viewers. Consider creating multiple versions of successful pieces as gifts for friends and family.
Cultural and Personal Heritage Themes
Explore your cultural background or personal interests through mini sculpture projects. Family recipes might inspire food-themed pieces, travel memories could generate architectural studies, and cultural traditions offer rich subject matter for symbolic works.
These personally meaningful projects often result in your most successful pieces because they combine technical skill development with emotional investment in the subject matter.
