- Easy
- 20–30 minutes
- No glue
- about 3.1 × 4.5 in (7.9 × 11.4 cm)
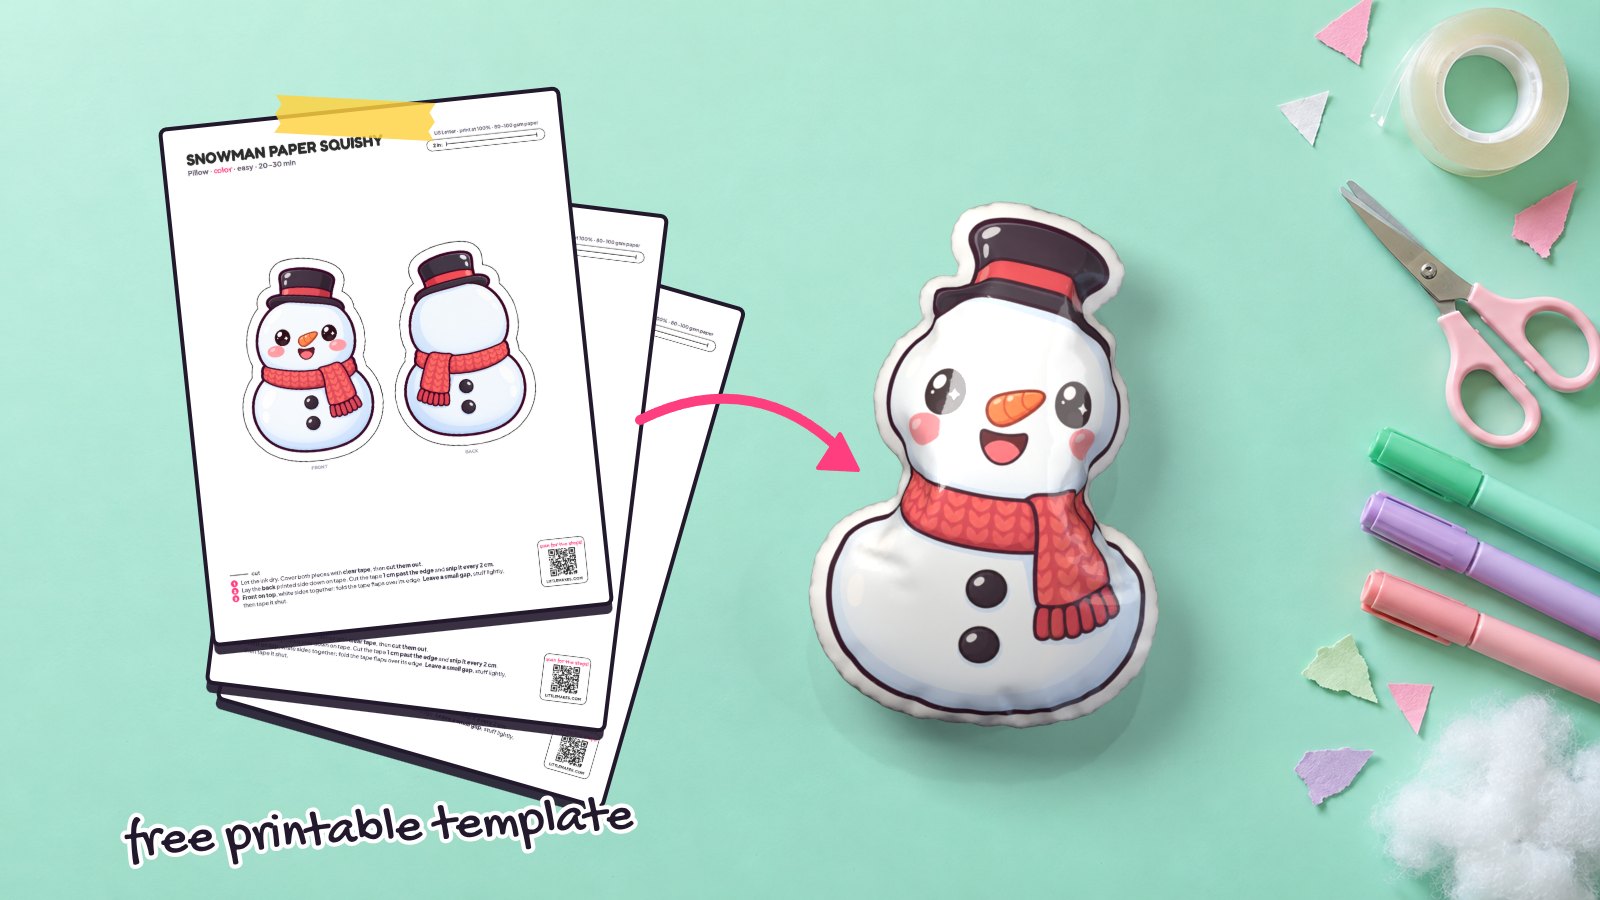
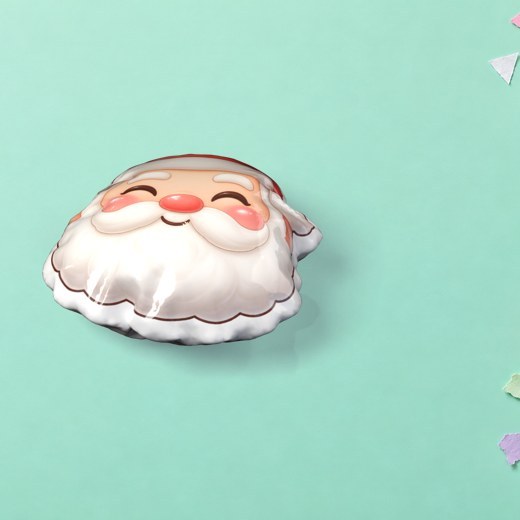
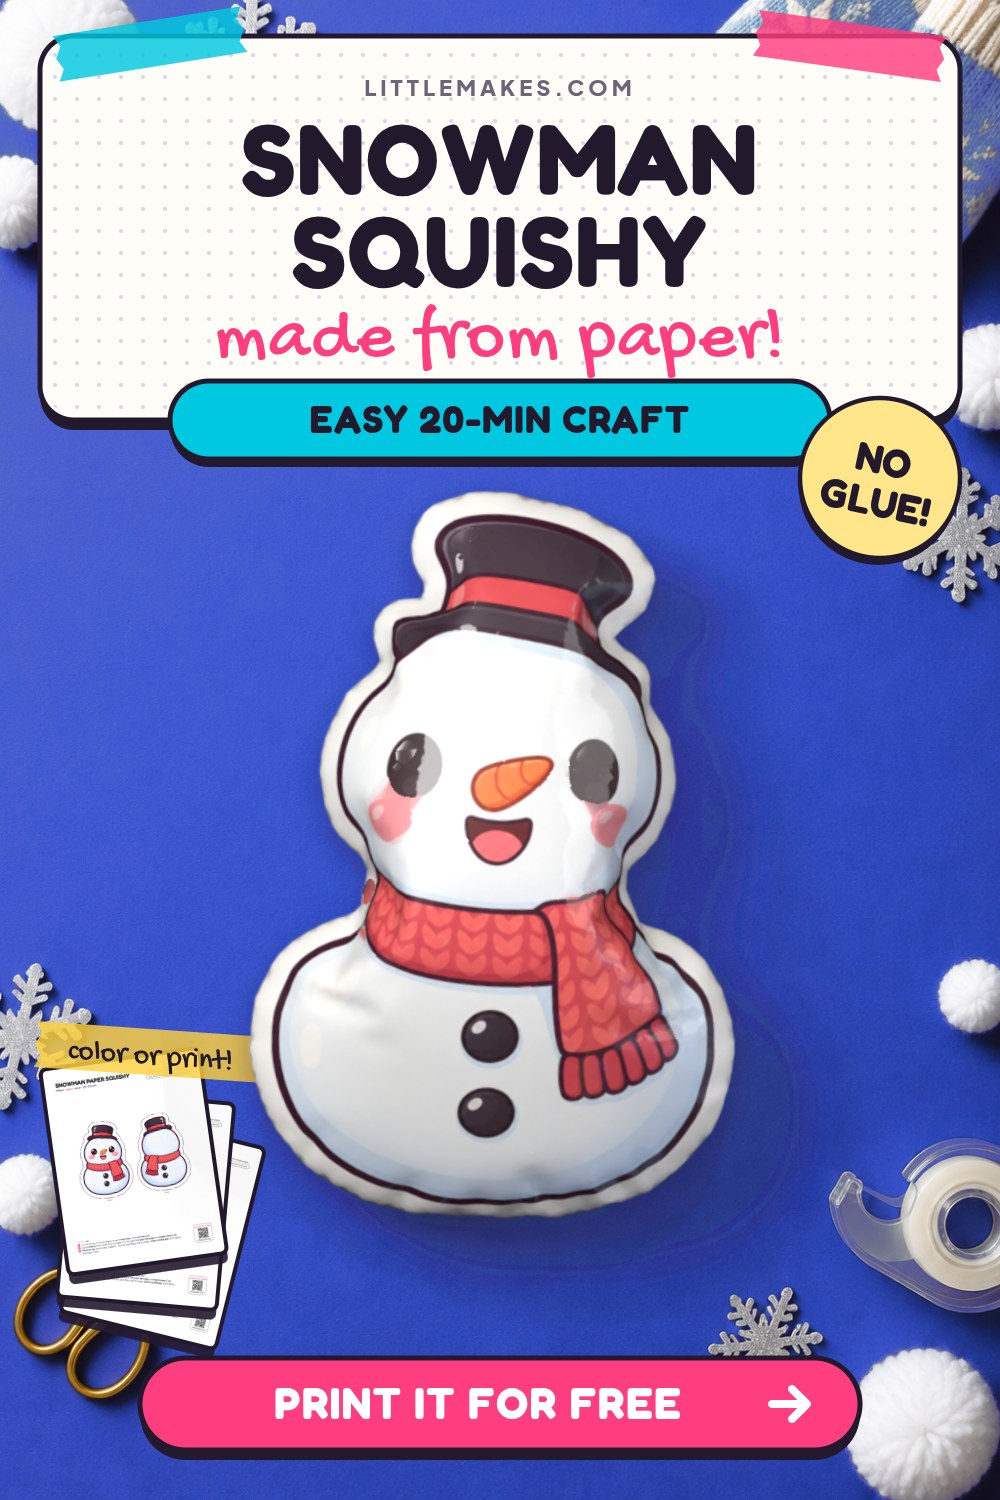
Bundle up for a cozy craft session with this adorable snowman paper squishy! Our frosty little friend features rosy cheeks, a tiny carrot nose, a cozy red knit scarf, and a dapper top hat with matching back details. You get a free printable template with 3 versions (full color, coloring page, and blank) formatted for both US Letter and A4 paper. Pair your frosty buddy with our Santa paper squishy for the cutest holiday desk duo.
What you need
How to make it, step by step
1Print the template
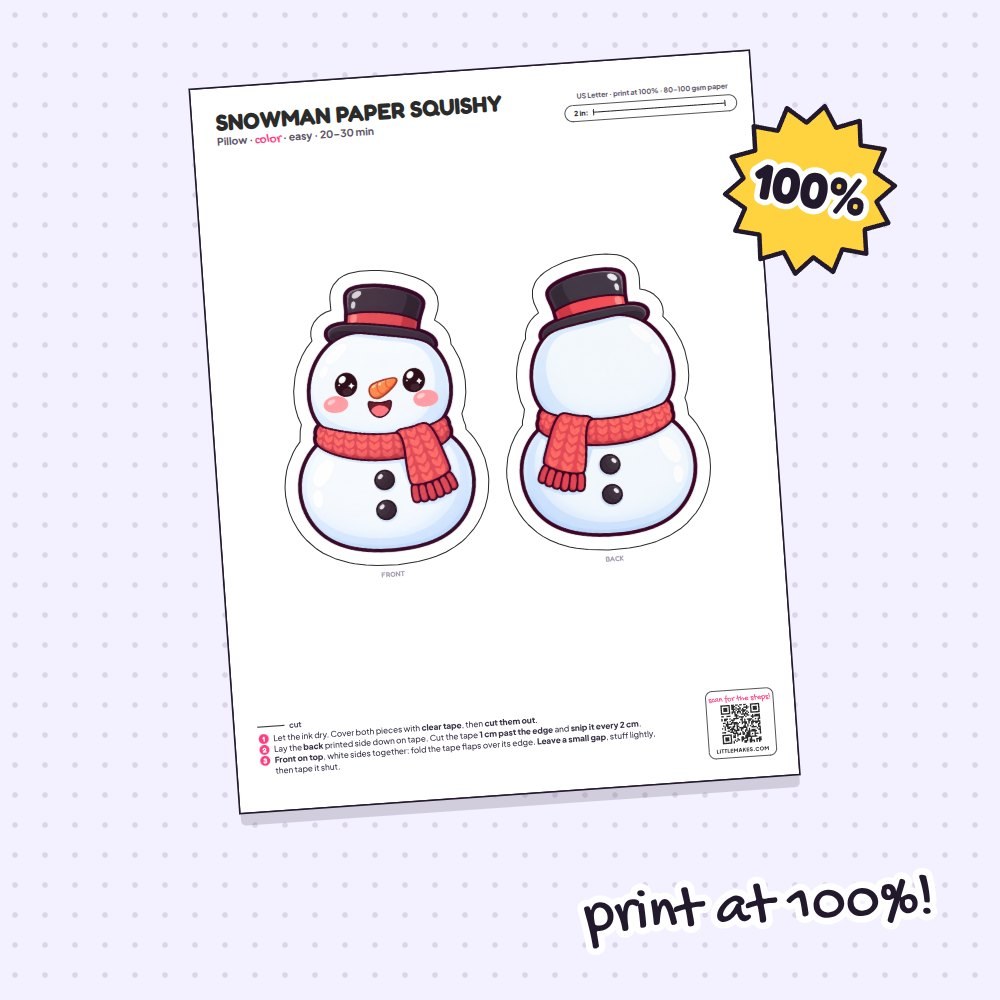
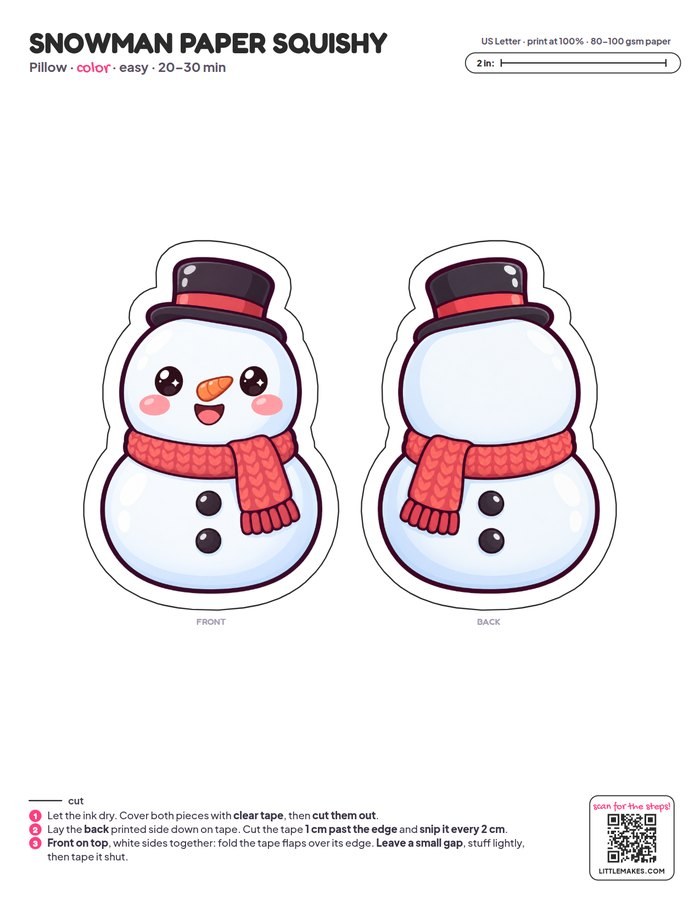
Print your snowman template at 100% scale on plain printer paper—make sure to turn off “fit to page” in your print settings. Check the test line in the top corner to see that it measures 2 inches (50 mm on A4). If you chose the coloring page or blank version, color your snowman’s scarf, hat, and carrot nose now, and let marker ink dry completely before moving on.
2Tape the pieces
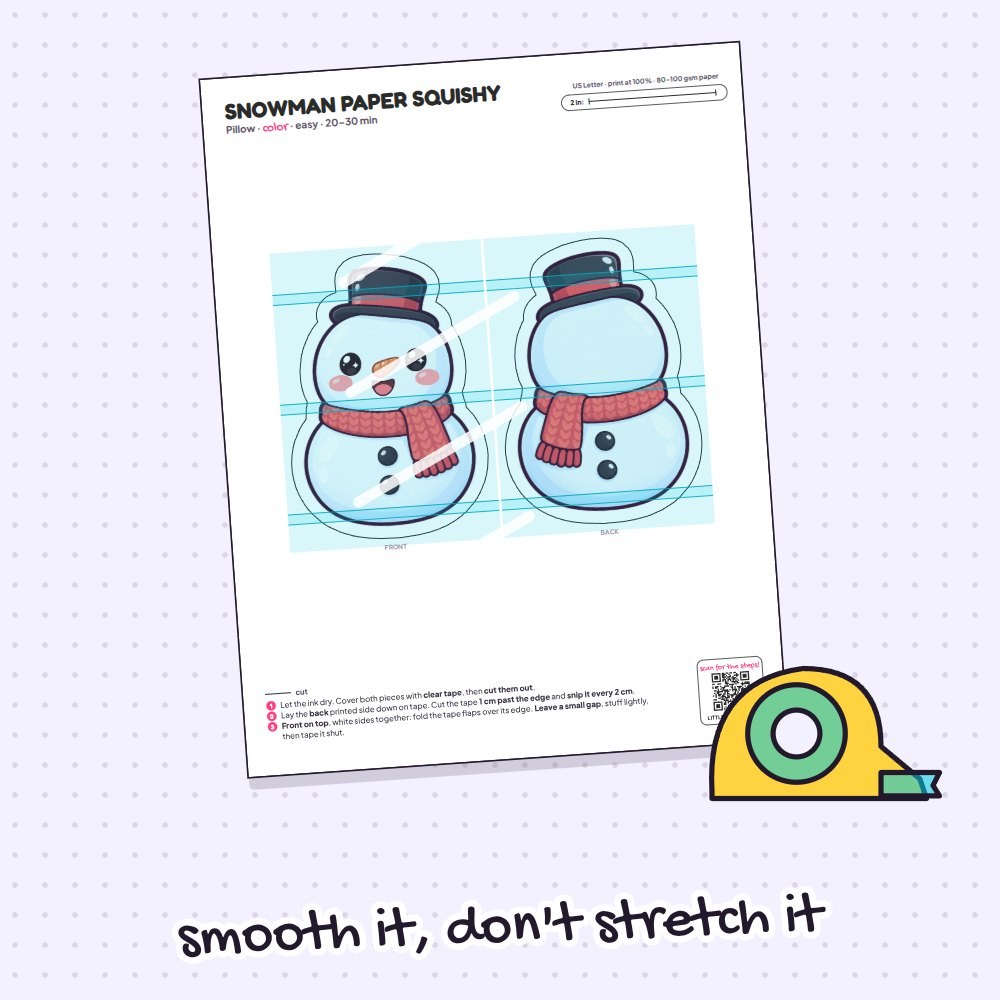
Lay strips of wide clear packing tape over just the front and back snowman pieces, rather than taping the entire sheet. Smooth each strip from the center outward toward the hat and round belly without pulling or stretching—stretched tape will wrinkle later. This glossy layer makes your paper strong, shiny, and extra squishy.
3Cut out both pieces
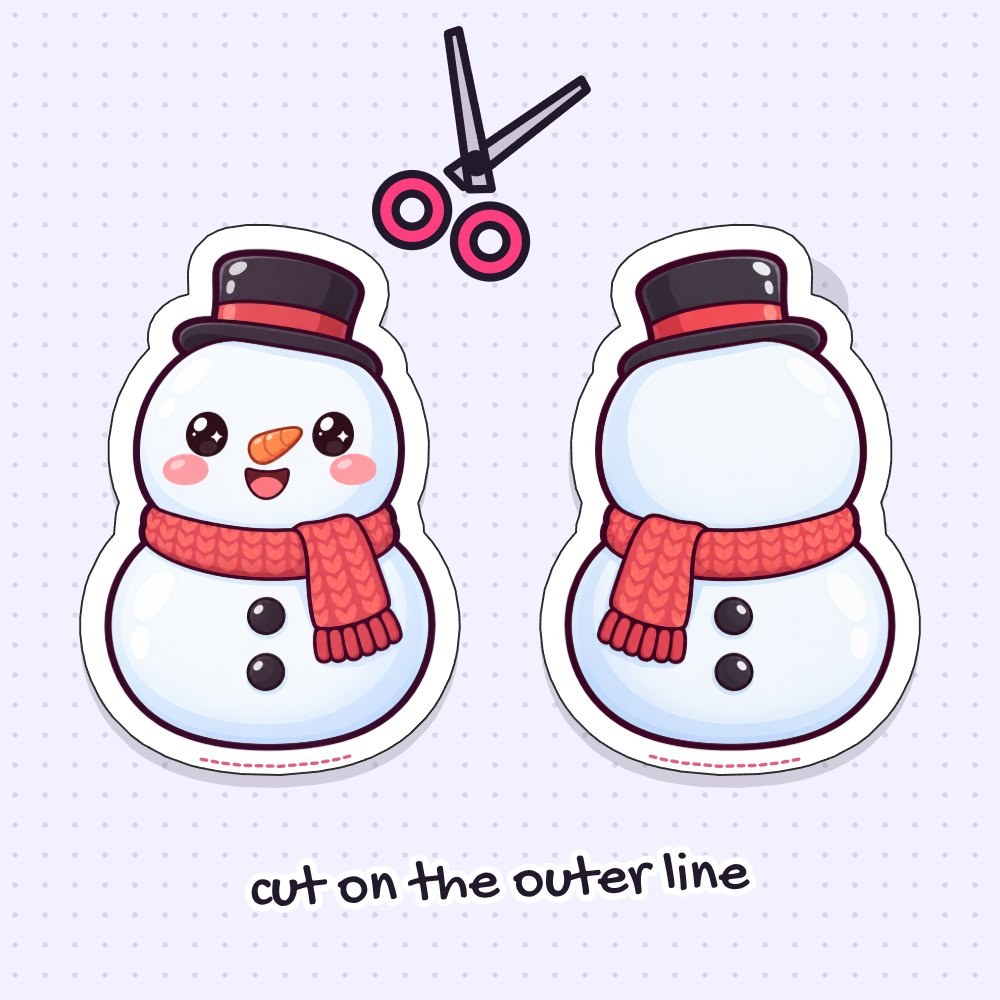
Cut out the front and back snowman pieces neatly along the solid black outer line. Take your time curving around the top hat brim and where the scarf indents between the head and body. Be sure to keep the narrow white border intact all the way around.
4Add a tape border to the back
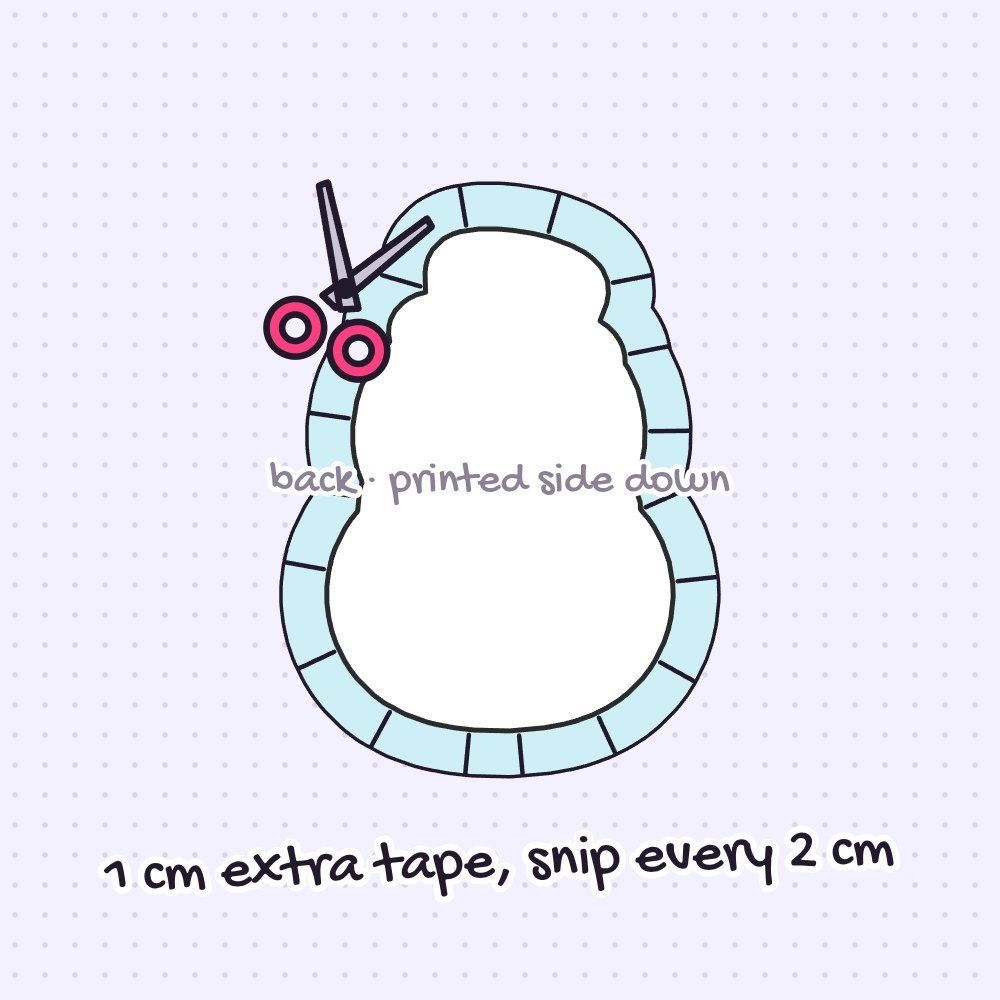
Place the back piece printed side down onto strips of clear tape with the sticky side facing up. Cut the tape about 1 cm (½ inch) past the paper edge, then snip into this tape border every 2 cm (1 inch) right up to the paper, paying extra attention around the curved snowballs and hat. These little flaps will wrap around to hold your squishy together.
5Join front and back
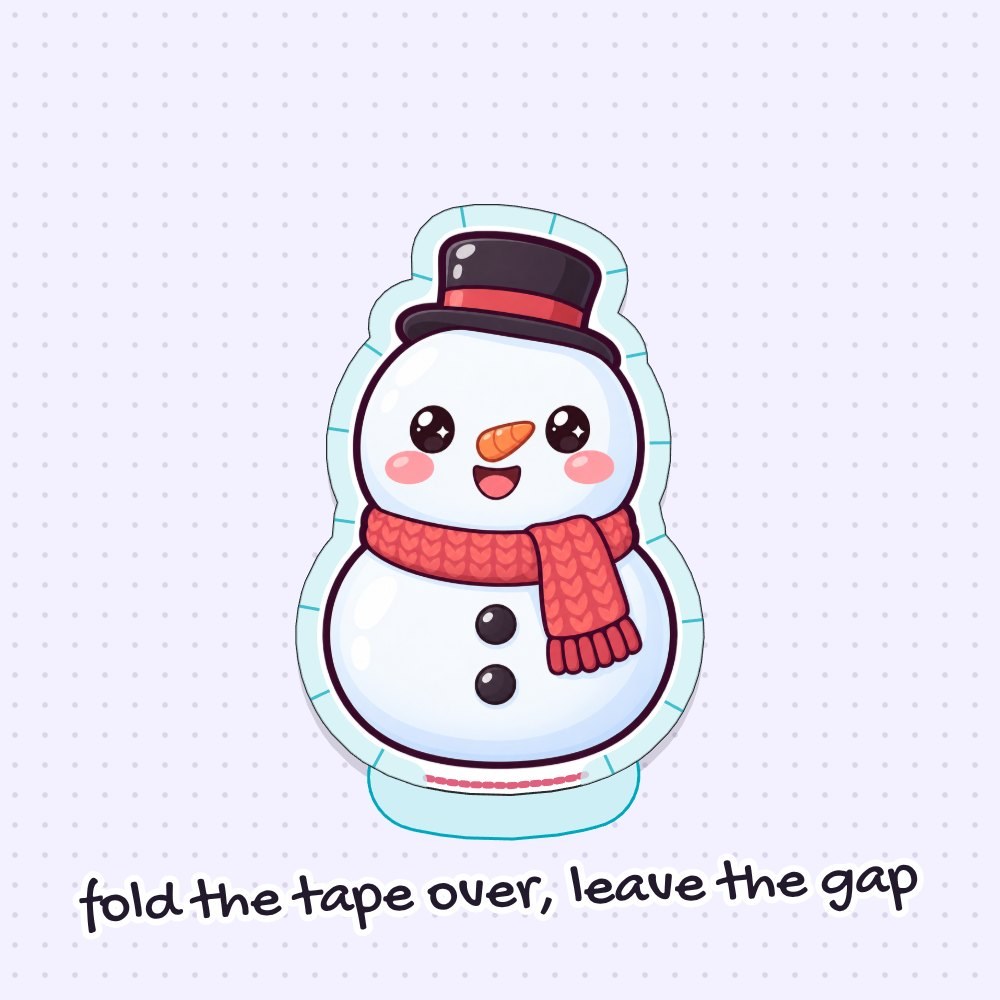
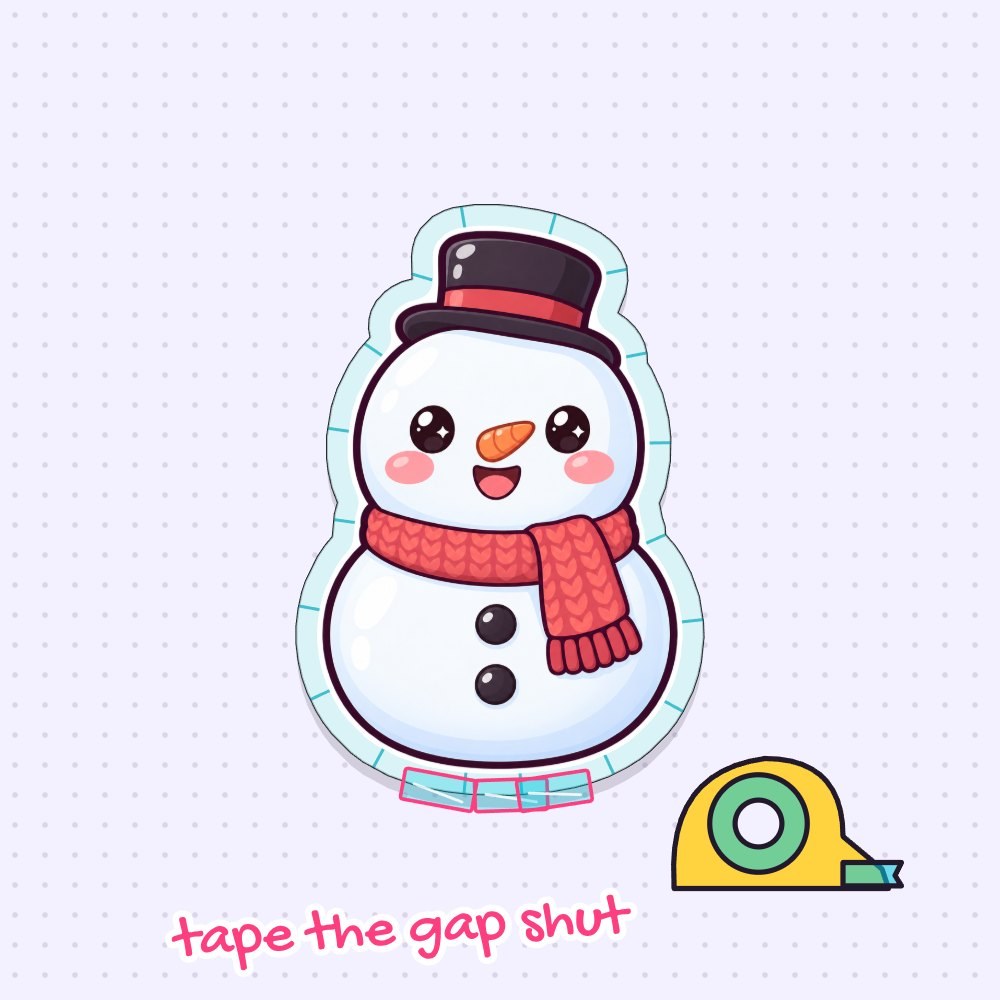
Set the front piece directly on top of the back piece, white sides facing together, lining up the top hat and round base. Fold the sticky tape flaps over the front edge one by one and press them down firmly. Leave a small 3 cm gap open along the side (shown by the pink line in the illustration) so you have room to add the stuffing.
6Stuff it
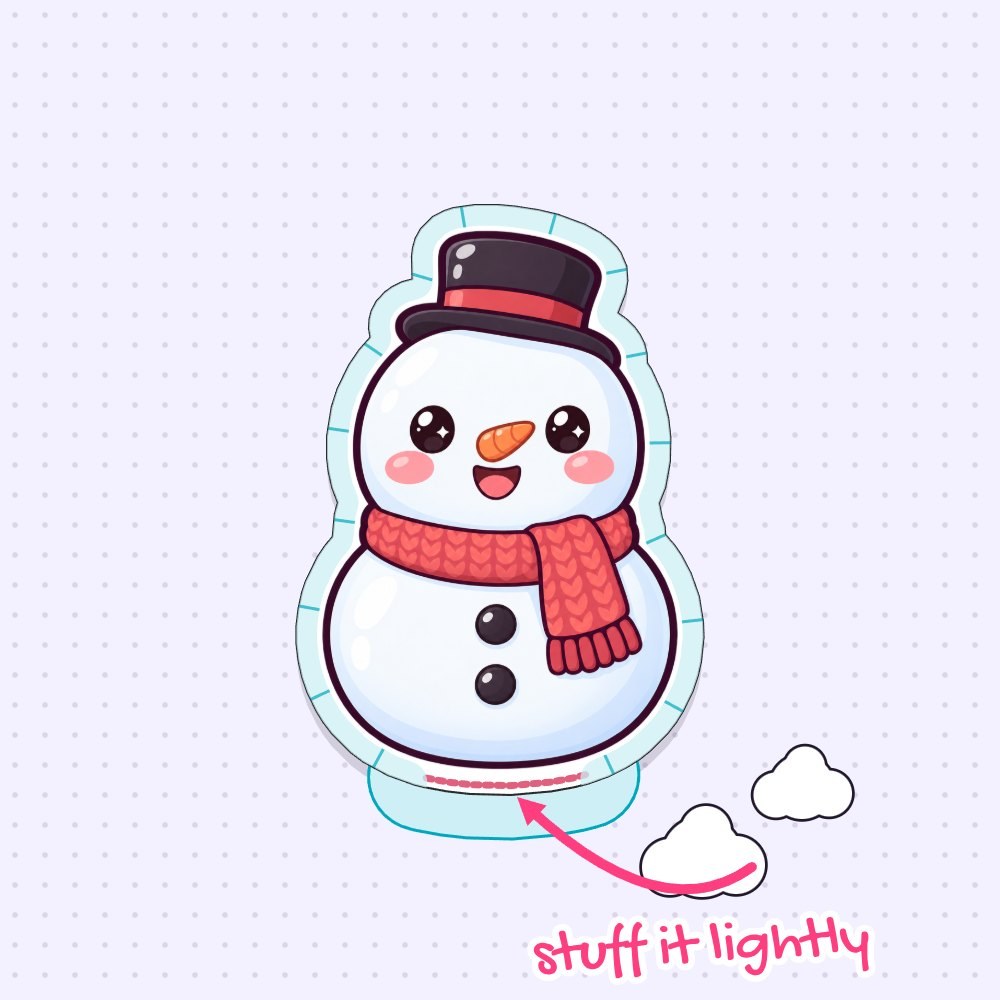
Tear your plastic bags, cotton, or fiberfill into small, fluffy bits and push them inside through the open gap. Tuck stuffing up into the far corners of the top hat and head first, then fill the round belly until it feels soft and puffy. Stop before it gets overly tight—too much stuffing will make the seams pop.
7Close the gap
Fold the remaining tape flaps neatly over the open side of the belly and tape the gap shut with an extra strip of regular clear tape. Run your finger firmly along the entire outline, from the bottom curve up to the hat, to press every tape edge down securely.
8Squish!
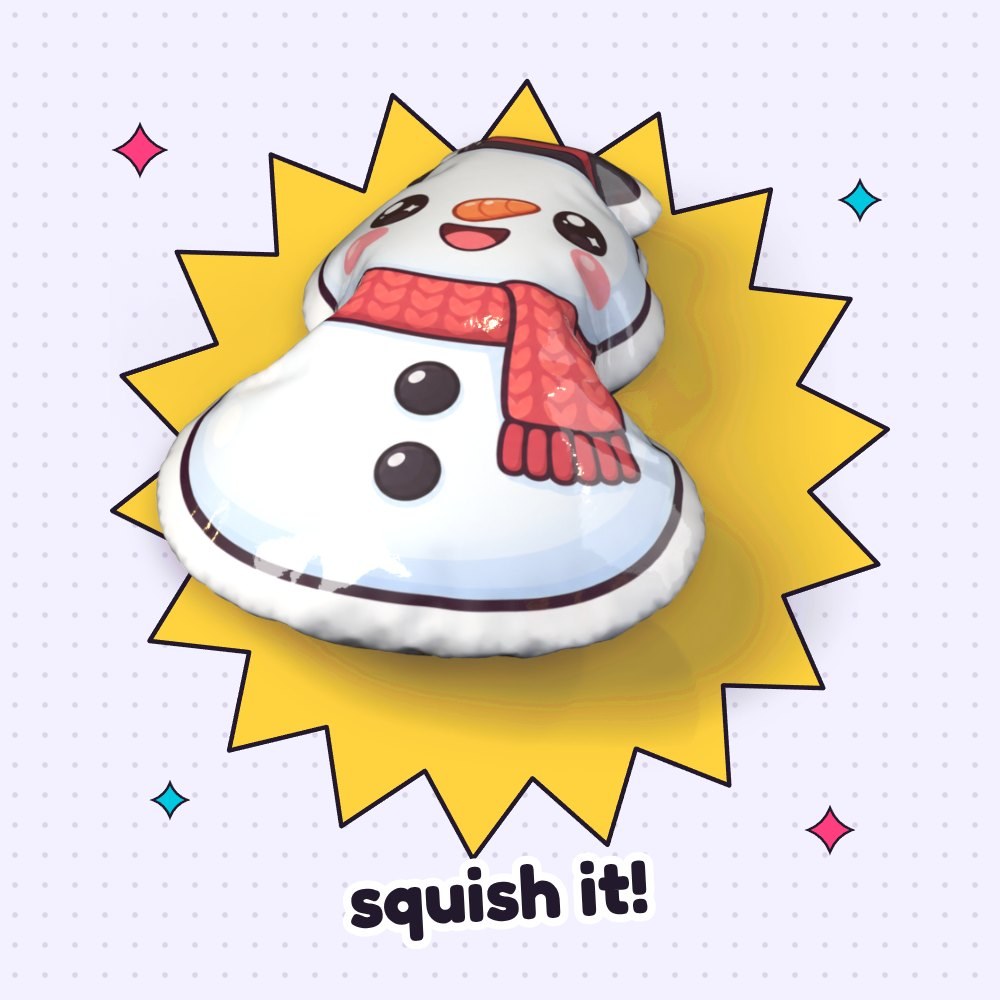
Your frosty friend is finished! Give your snowman a gentle squeeze and watch its round belly puff right back up. If you want a slow-rising squishy, prick one tiny pinhole into the back so the air escapes slowly.
Free Snowman Squishy Template
- Color
- Coloring page
- Blank, design your own
- Step-by-step guide
One free PDF: the template in three versions (pages 1–3) and the step-by-step guide (pages 4–5). Print the template at 100% on plain printer paper.
Tips for the perfect squish
- The snowman belly feels hard. It is packed with too much stuffing. Gently open the side gap, pull out a few pieces of filling from the body, and tape it shut again.
- Tape wrinkles on the snowballs. Stretched tape causes ripples across the white belly and head. Use shorter strips and lay them down gently from the center outward without pulling.
- A seam pops near the neck. The curve between the head and body takes extra tension when squeezed. Put a new short strip of regular clear tape right across the split, overlapping the old ones.
- Red scarf marker smeared. Bright reds and dark hat colors need a moment to set on plain paper. Always let marker ink dry completely before laying down the packing tape, whereas printer ink is fine right away.
Questions
What are some fun Christmas paper squishy ideas to make a winter set?
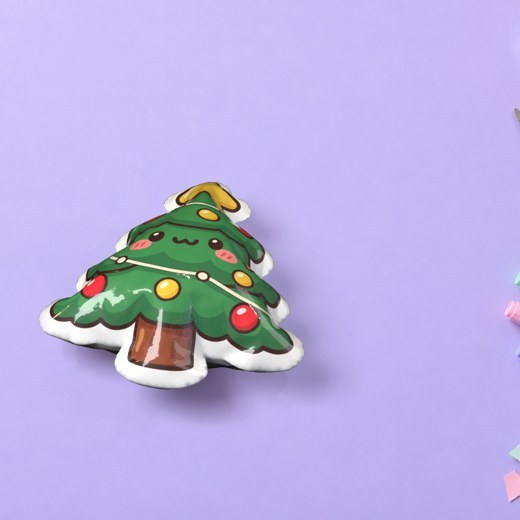
This frosty friend measures about 3.1 × 4.5 in (7.9 × 11.4 cm) and looks adorable in a holiday basket! You can easily craft a whole winter wonderland set by pairing it with our Christmas tree paper squishy.
Can I use glue instead of tape for this Christmas paper squishy template?
Not for sealing the edges. Glue will not stick to the slick, tape-covered paper, so your snowman’s seams would pop right open. Folding the snipped tape border over the edge is the best way to keep it together.
What paper works best for a snowman paper squishy?
Standard plain printer paper (80–100 gsm / 20–24 lb) gives the best squish. Heavy cardstock makes the round body too stiff and prevents it from bouncing back nicely.
What can I stuff my squishy with?
Plastic grocery bags give a fun, crinkly, lightweight feel, while cotton balls or fiberfill make the belly super soft and plush. You can even use small pieces of memory foam for a slow-rising squishy.
Can I make these with a classroom or holiday party group?
Yes! Print one sheet per person and cut the tape strips in advance. Kids can color the scarf and hat on the coloring page while you help with the taping—plan for about 30 minutes total.
More paper squishies to make
Pin this tutorial
Save it to your craft board so you can find the free template again.