- Easy
- 20–30 minutes
- No glue
- about 4.5 × 3.4 in (11.4 × 8.6 cm)
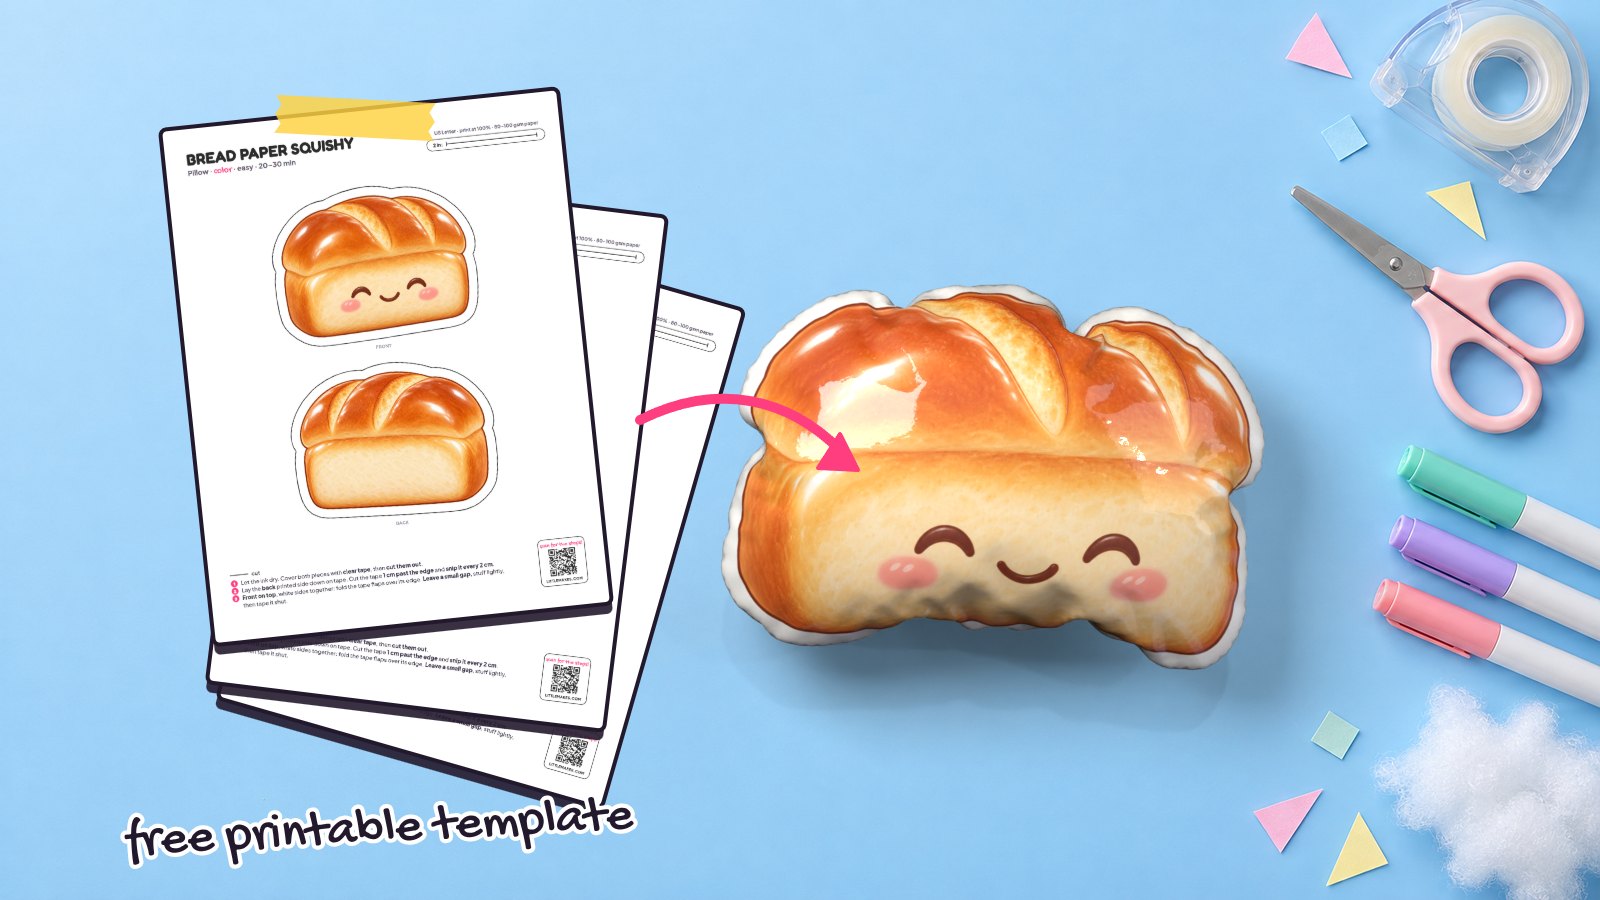
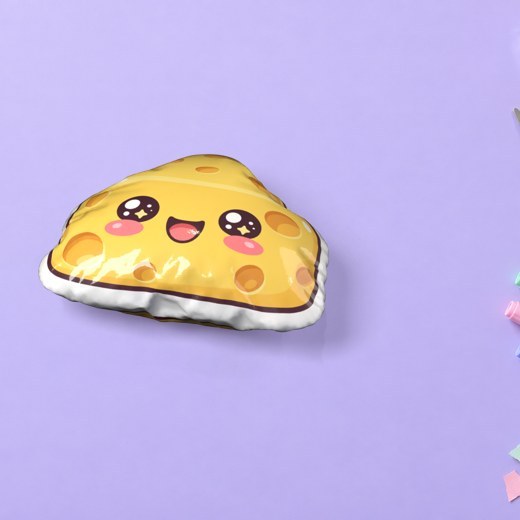
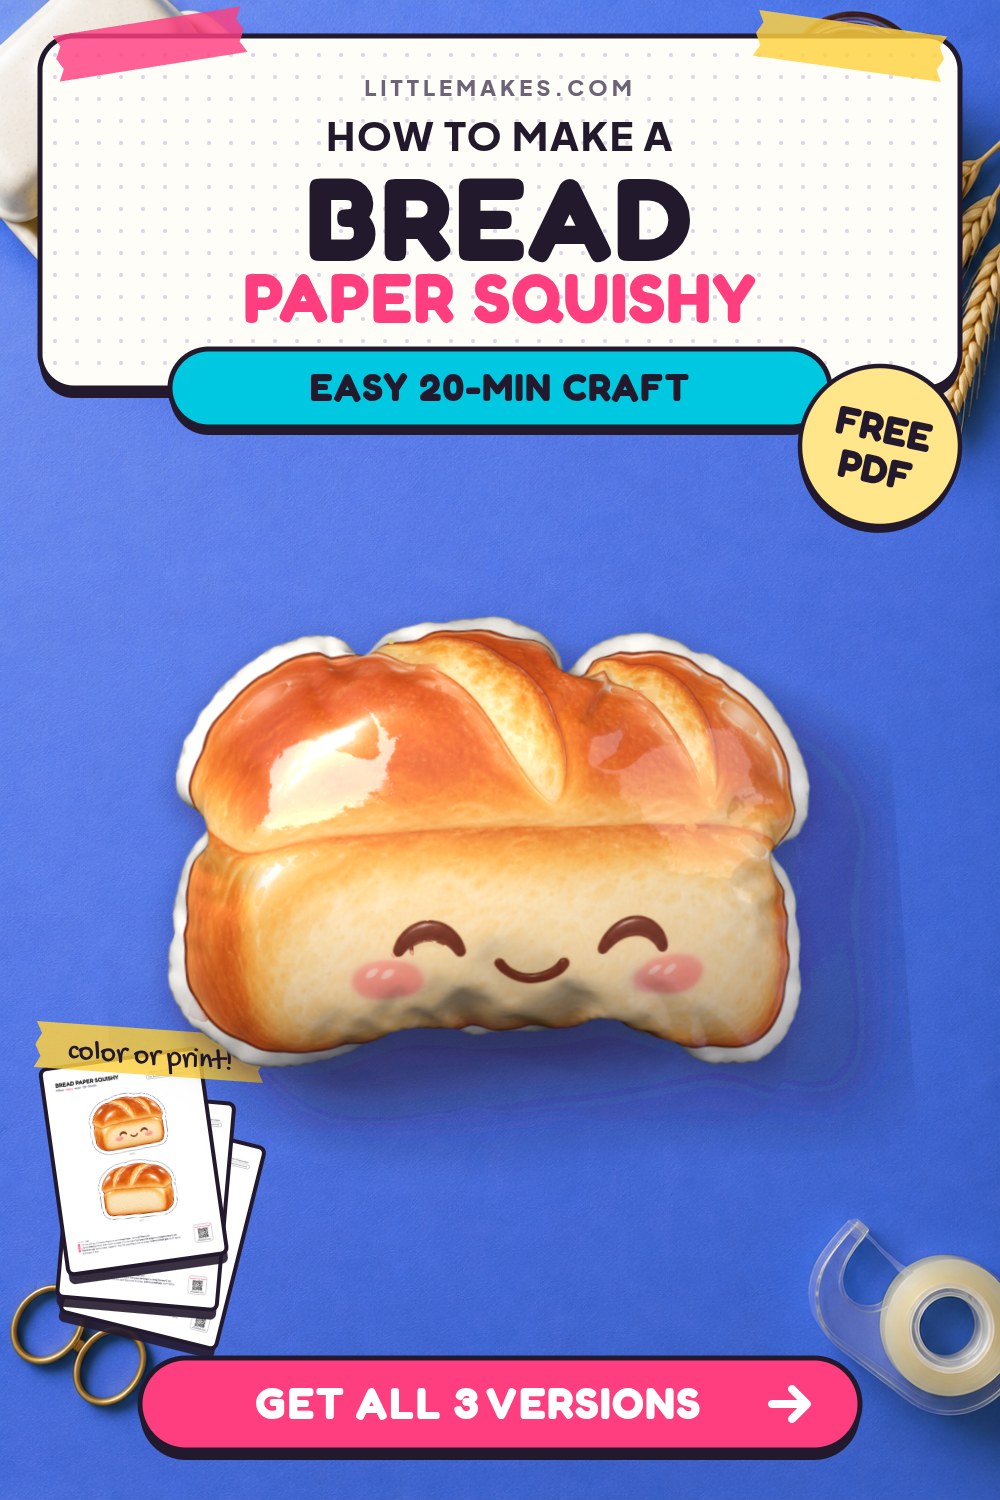
Nothing beats a fresh, warm loaf, except maybe one you can squeeze all day! This cute bread loaf has a shiny golden-brown crust with score marks on top and a happy blushing face on the soft crumb side. Grab the free bread paper squishy template below in US Letter or A4 size, complete with 3 versions: full color, a ready-to-color outline, and a blank design. Pair it with our toast paper squishy or cheese paper squishy for a cozy bakery set!
What you need
How to make it, step by step
1Print the template
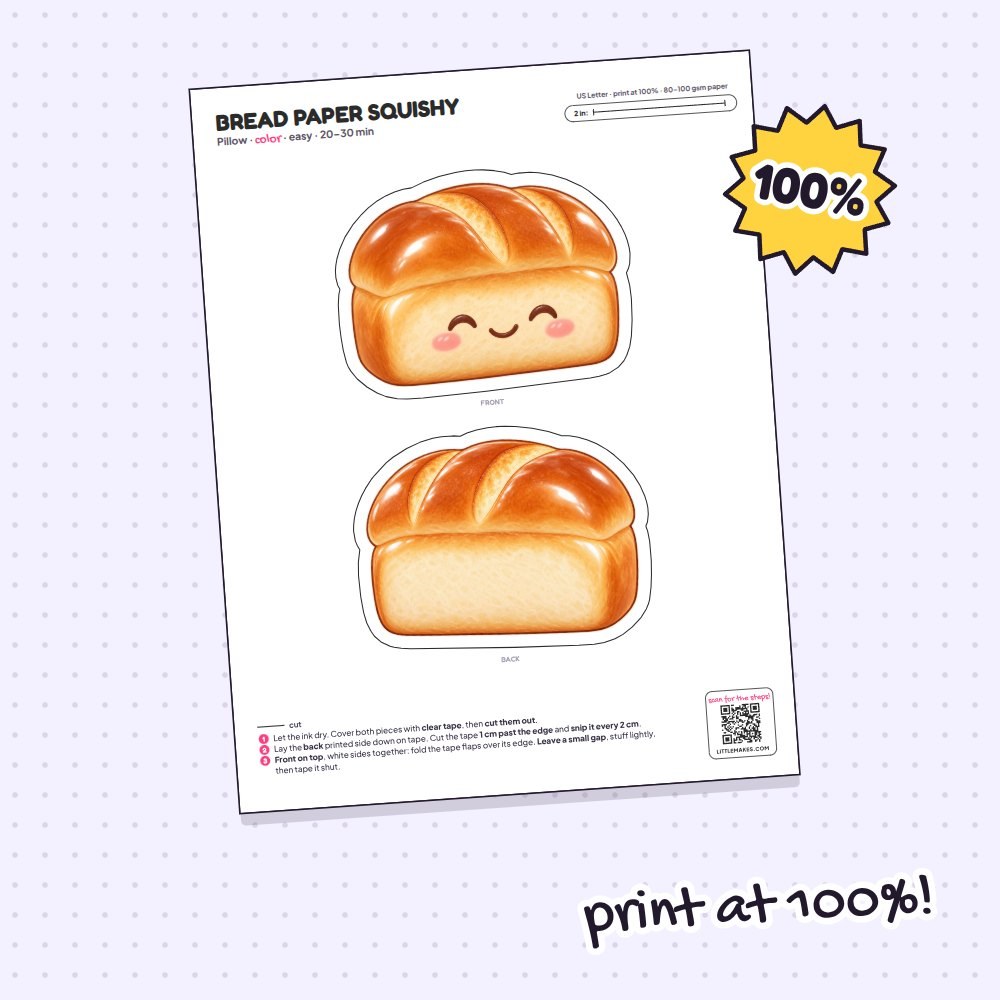
Print your chosen loaf design at 100% scale on plain printer paper, making sure to turn off the “fit to page” setting. Check the scale line in the top corner so it measures exactly 2 inches (50 mm on A4). If you picked the coloring page, shade the golden crust and rosy cheeks now, then let any marker ink dry completely before moving on.
2Tape the pieces
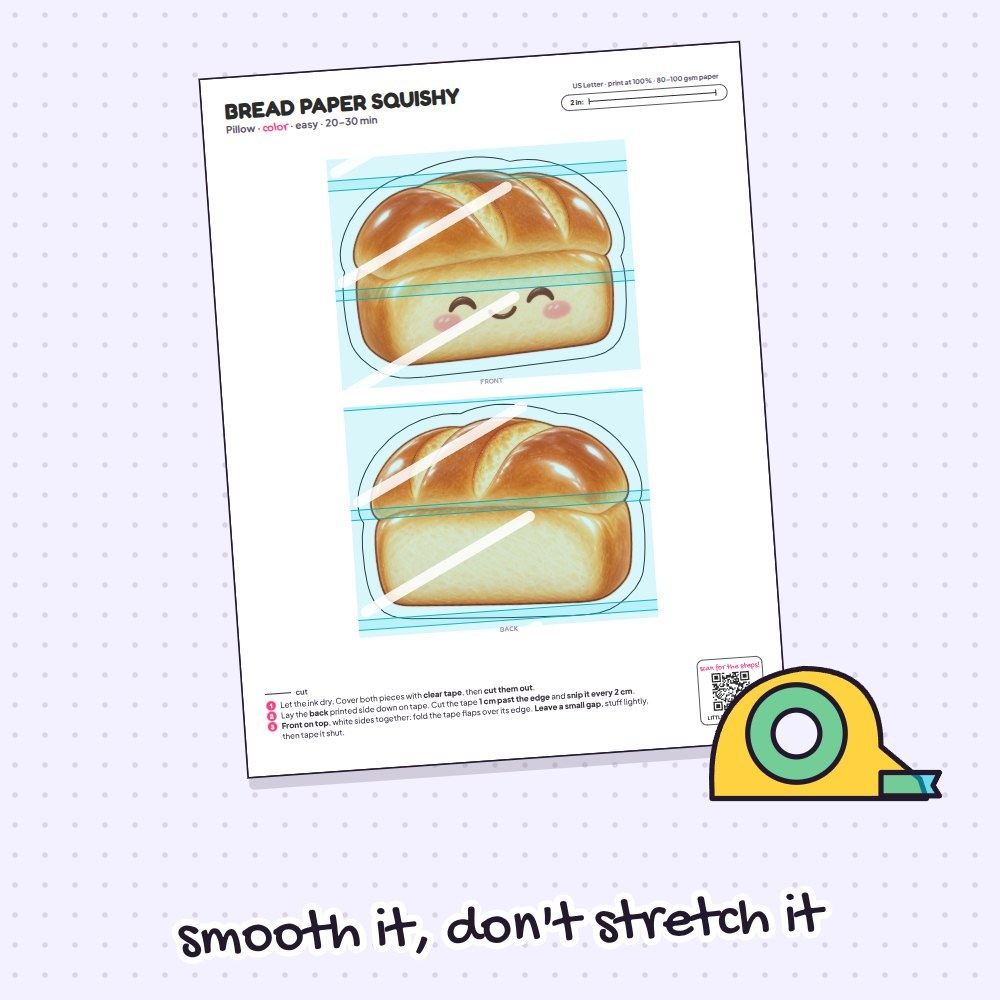
Cover only the front and back bread pieces with wide clear packing tape, rather than taping the entire sheet. Press each strip down from the middle outward without pulling, since stretched tape tends to wrinkle later. This clear layer gives the crust a realistic bakery shine while making your paper strong and super squishy.
3Cut out both pieces
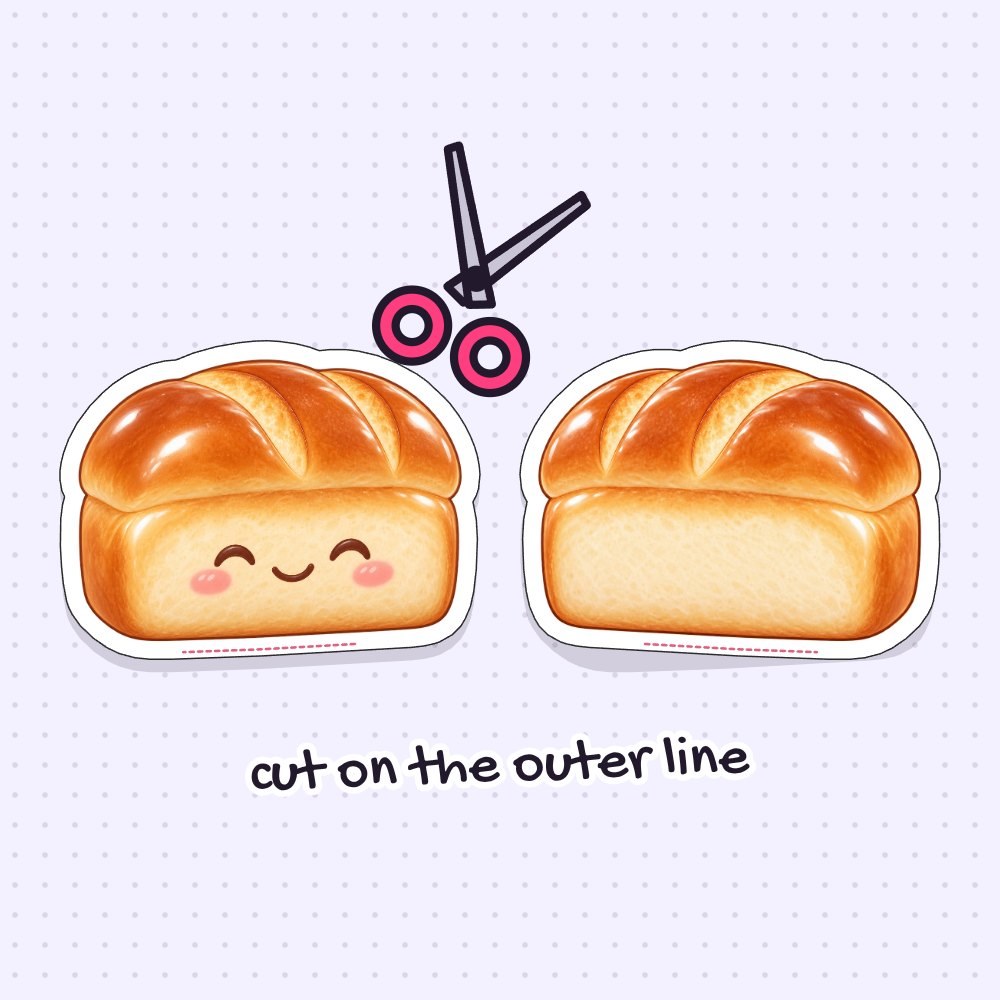
Cut out the front and back loaf shapes right along the solid black outer line. Take your time following the wavy top crust and the gentle indent where the top of the loaf meets the bottom, making sure to keep the narrow white border intact all the way around.
4Add a tape border to the back
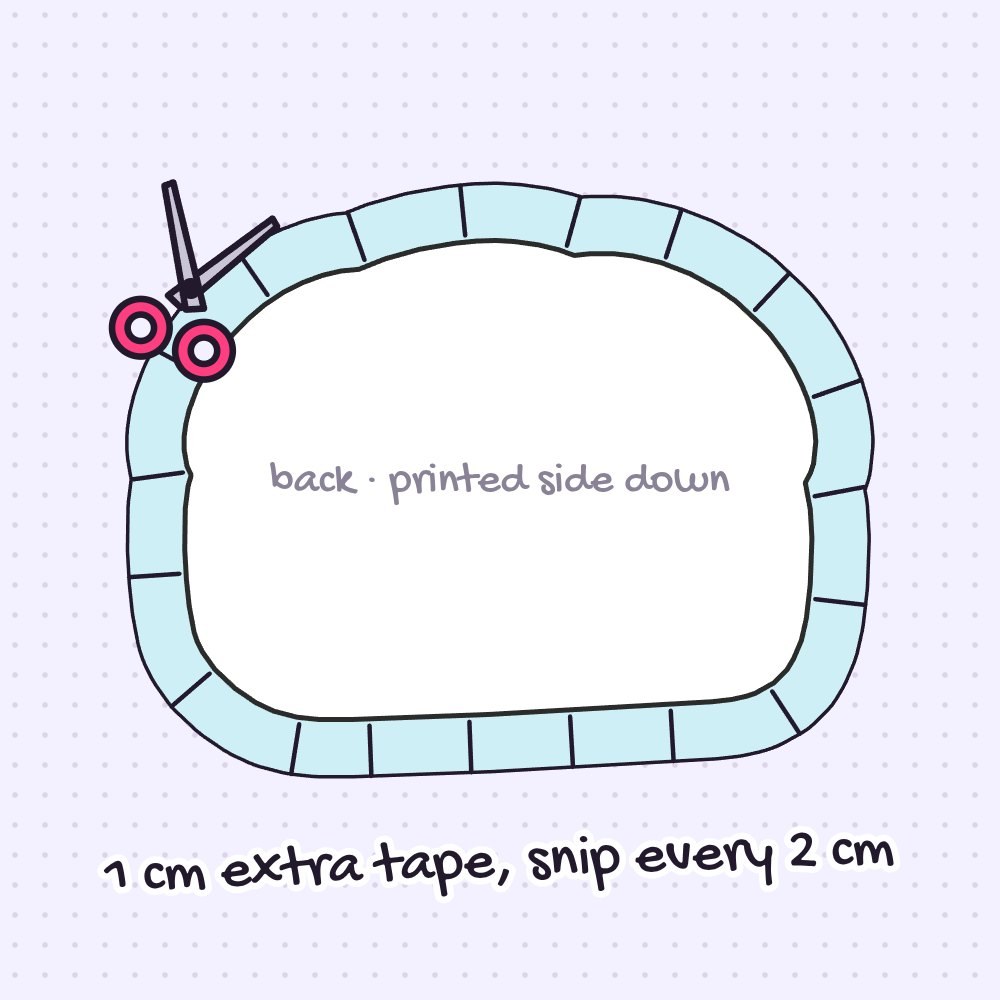
Place the back piece printed side down onto strips of regular tape so the sticky side faces up. Trim the tape about 1 cm (½ inch) outside the paper edge, then snip little slits into this border every 2 cm (1 inch) right up to the paper, taking care around the curved top crust and bottom corners so the flaps will fold smoothly.
5Join front and back
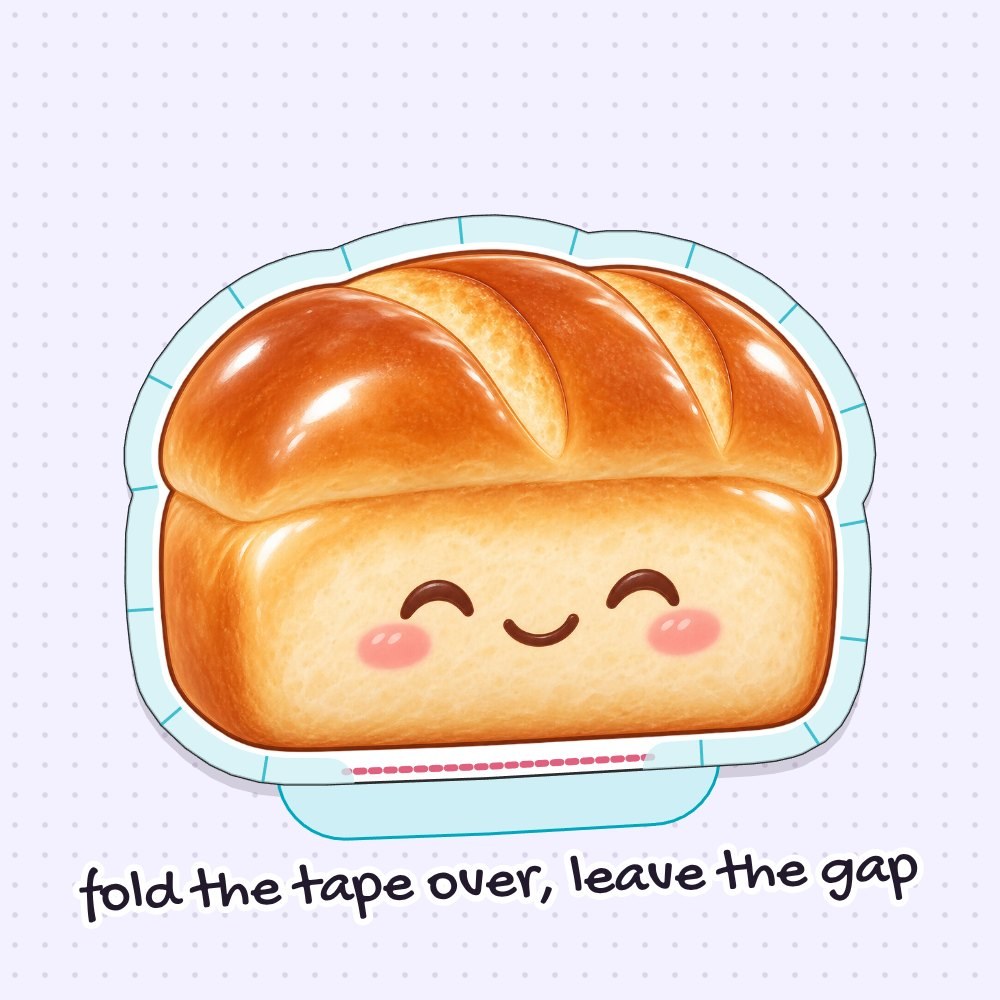
Line up the front loaf piece on top of the back piece with the white sides facing together. Fold the sticky tape flaps over the front edge one at a time and press them firmly. Leave a small gap open along the edge as shown by the pink line in the illustration so you have room to stuff it.
6Stuff it
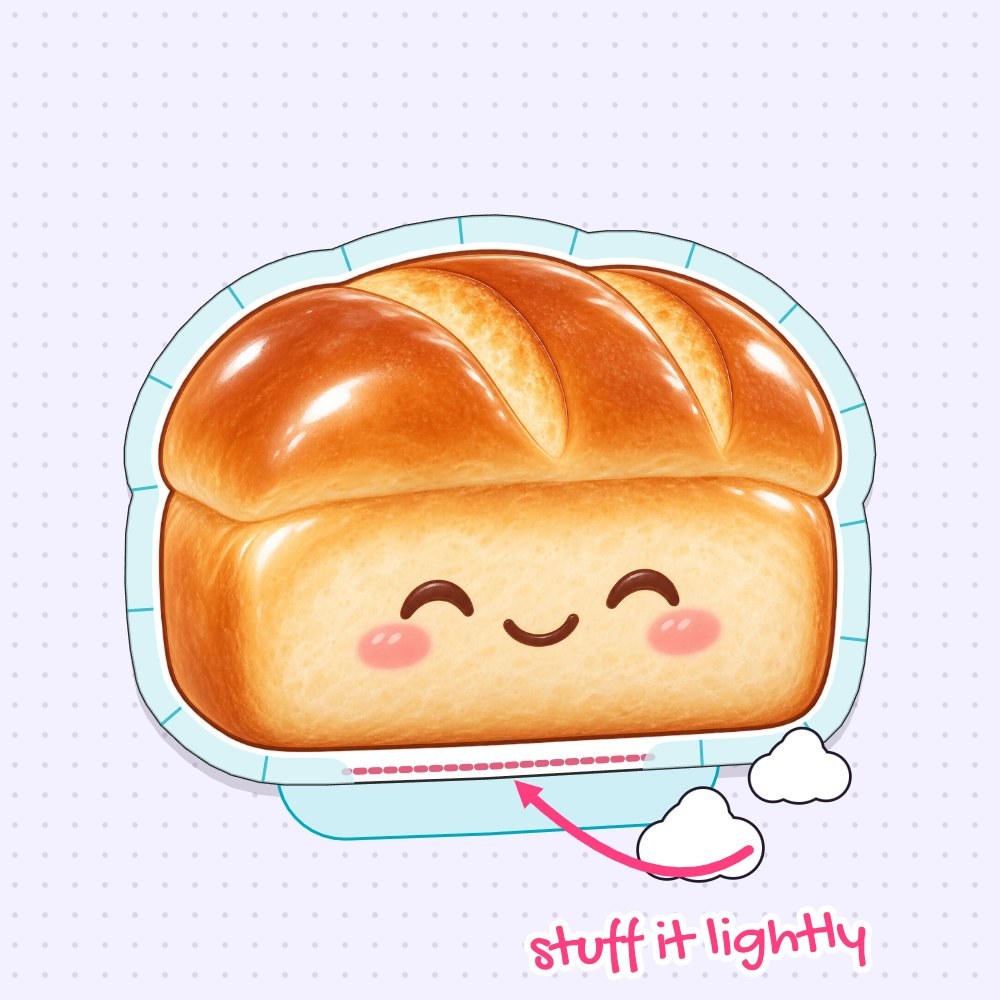
Tear your plastic bags, cotton, or fiberfill into small bits and push them inside through the open gap. Tuck the filling into the rounded top crust and the bottom corners of the loaf first, stopping once it feels plump and pillowy—packing in too much stuffing can make the taped seams pop open.
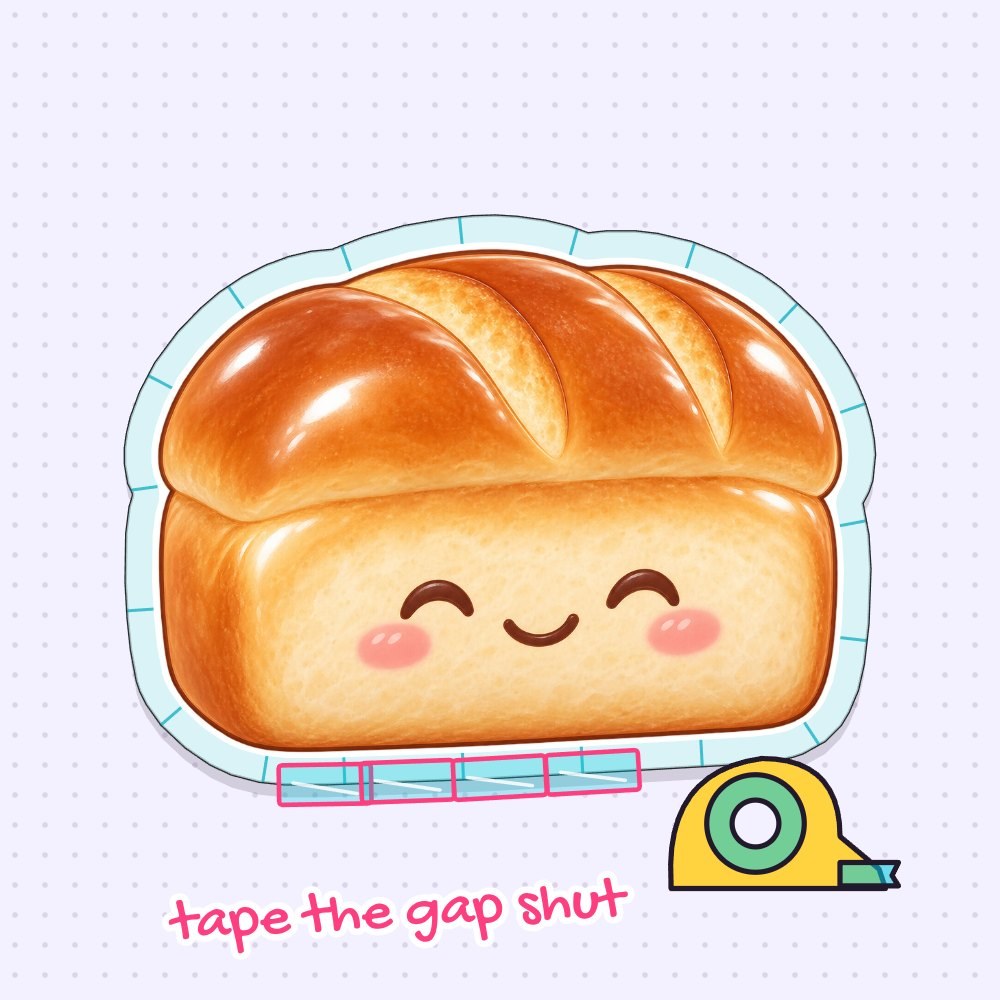
7Close the gap
Fold those remaining tape flaps neatly over the stuffing gap and seal it shut with one extra strip of clear tape. Run your finger firmly around the entire loaf outline, pressing down the curves of the crust and the flat bottom so every edge stays tightly sealed.
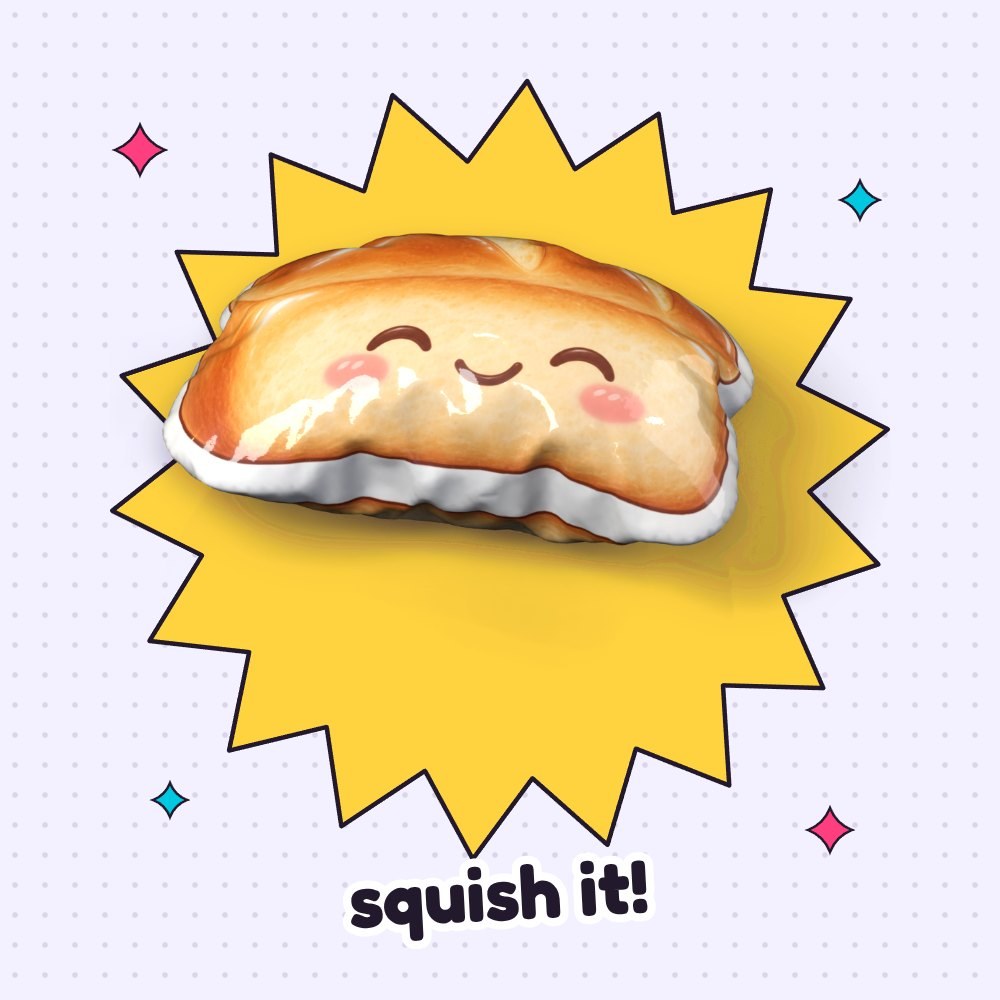
8Squish!
Your cozy bakery loaf is ready! Give the soft bread a big squeeze and watch it puff right back into shape. If you want that satisfying slow-rising bakery feel, gently prick one tiny pinhole into the back of the loaf so the air escapes slowly.
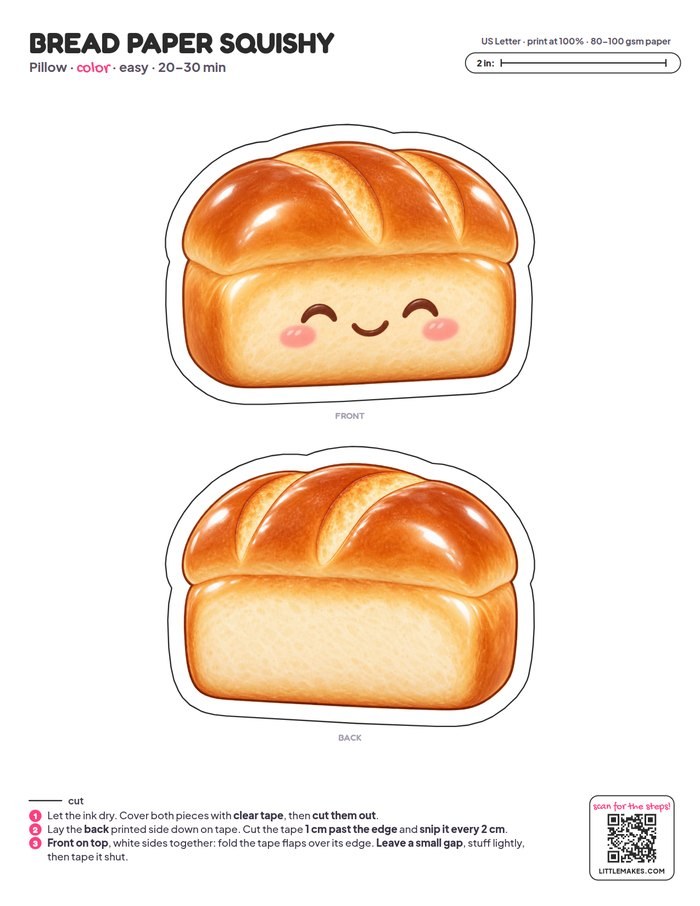
Free Bread Squishy Template
- Color
- Coloring page
- Blank, design your own
- Step-by-step guide
One free PDF: the template in three versions (pages 1–3) and the step-by-step guide (pages 4–5). Print the template at 100% on plain printer paper.
Tips for the perfect squish
- Loaf feels too firm. If your bread feels hard instead of pillowy, it is packed too tightly. Peel open the stuffing gap, pull out a few pieces of filling, and tape the edge closed again.
- Wrinkles across the shiny crust. Stretched packing tape leaves ridges over the wide loaf face. Lay shorter strips smoothly across the bread without pulling as you press them down.
- Side indent pops open. The slight curve where the top crust overhangs the side of the loaf takes extra pressure when squeezed. Reinforce that spot with a short strip of clear tape overlapping the existing border.
- Smudged rosy cheeks. Marker ink on the coloring page can smear under tape if it is still damp. Give colored areas a moment to dry completely before laminating, whereas standard printer ink is ready right away.
Questions
How do you make a bread paper squishy without glue?
You only need clear tape! Glue will not stick to the laminated paper surface and the seams would split open, so folding a snipped tape border over the edges holds the loaf together best.
What paper works best for a bread paper squishy?
Standard plain printer paper (80–100 gsm / 20–24 lb) gives you the softest squeeze. Heavy cardstock makes the loaf stiff and stops it from puffing back up nicely.
What can I stuff my bread squishy with?
Torn-up plastic grocery bags give a light, crinkly feel, while cotton balls or fiberfill make it plush and soft. You can also use tiny bits of memory foam for an extra slow-rising loaf.
Can I make a bigger loaf of bread squishy?
Yes! Print the template at a larger scale, such as 120%, and make sure both the front and back pieces print on the same sheet so their sizes match.
Can I make this craft with a classroom or party group?
Definitely—just print one sheet per person and pre-cut the tape strips ahead of time. Kids can color their loaves while you help with the taping, and the whole activity takes about 30 minutes.
More paper squishies to make
Pin this tutorial
Save it to your craft board so you can find the free template again.