- Medium
- 30–45 minutes
- 3D shape
- about 2.3 × 1.2 in (5.8 × 3.0 cm)
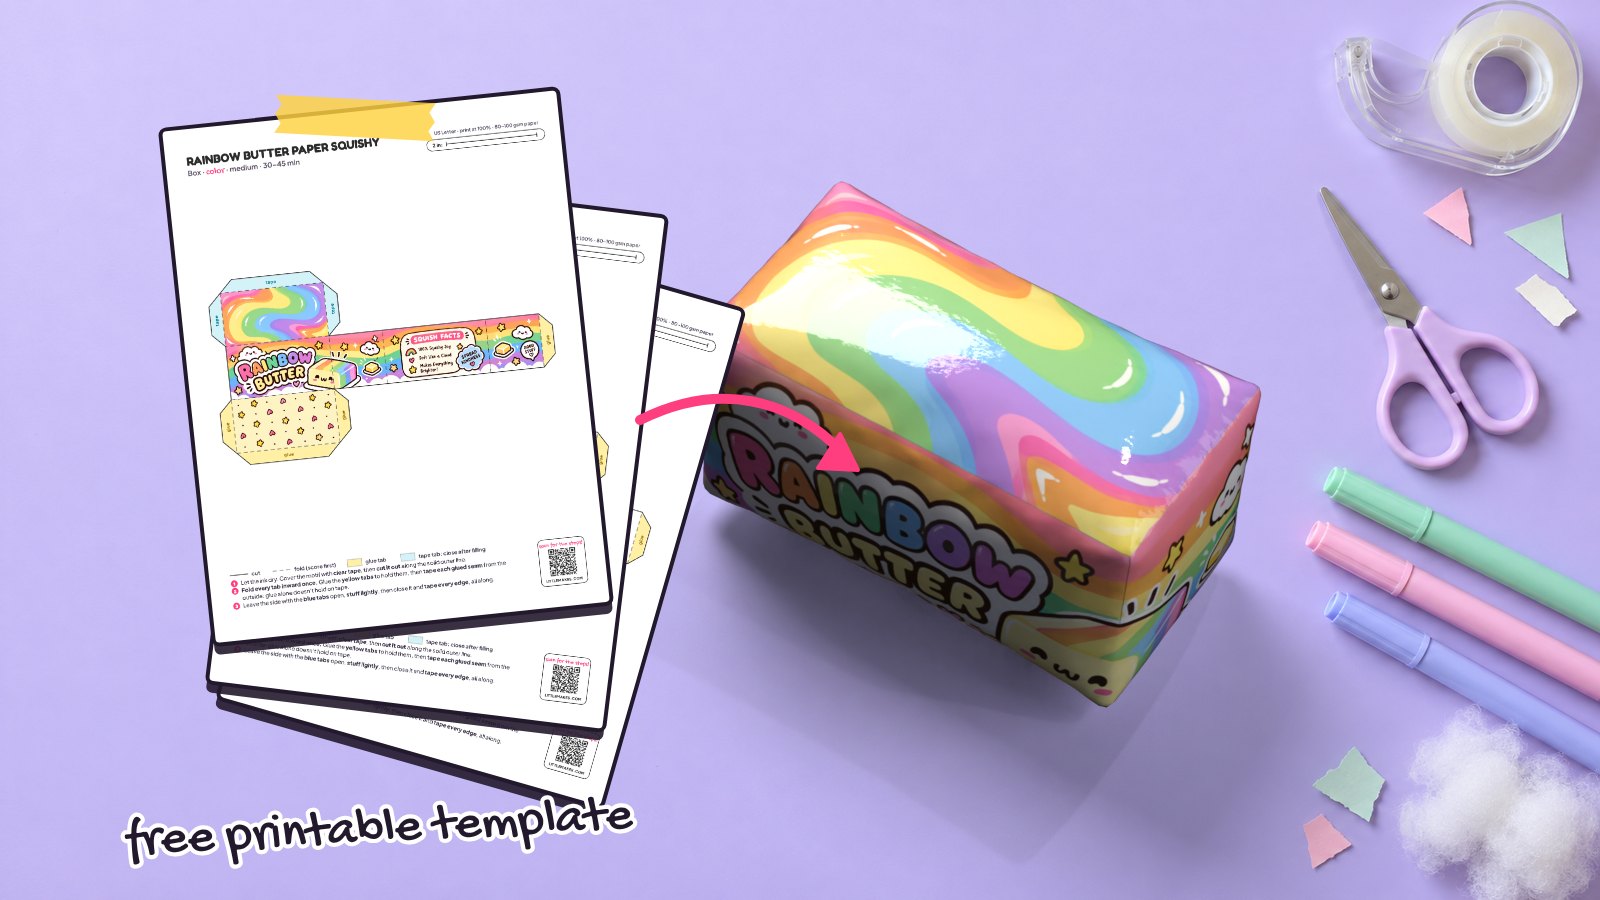
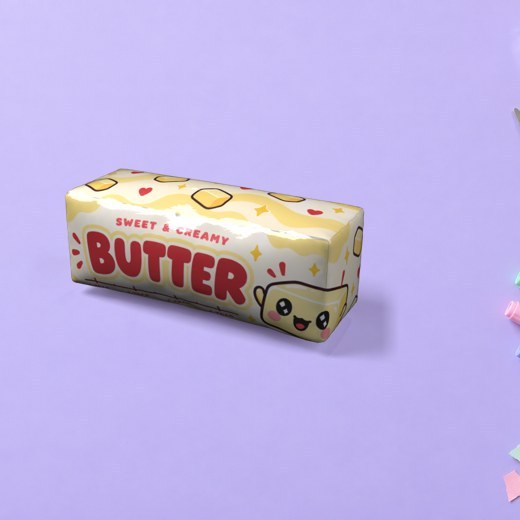
This pastel rainbow butter block comes wrapped in happy clouds, stars, a glossy swirled rainbow top, and cute “Squish Facts” on the back. Grab our free printable butter squishy template to fold your own miniature 2.3 × 1.2 in (5.8 × 3.0 cm) block. The PDF download includes 3 versions—full color, a coloring page, and a blank net—in both US Letter and A4 sizes. Pair it with a strawberry butter squishy for a colorful play kitchen set!
What you need
How to make it, step by step
1Print the template
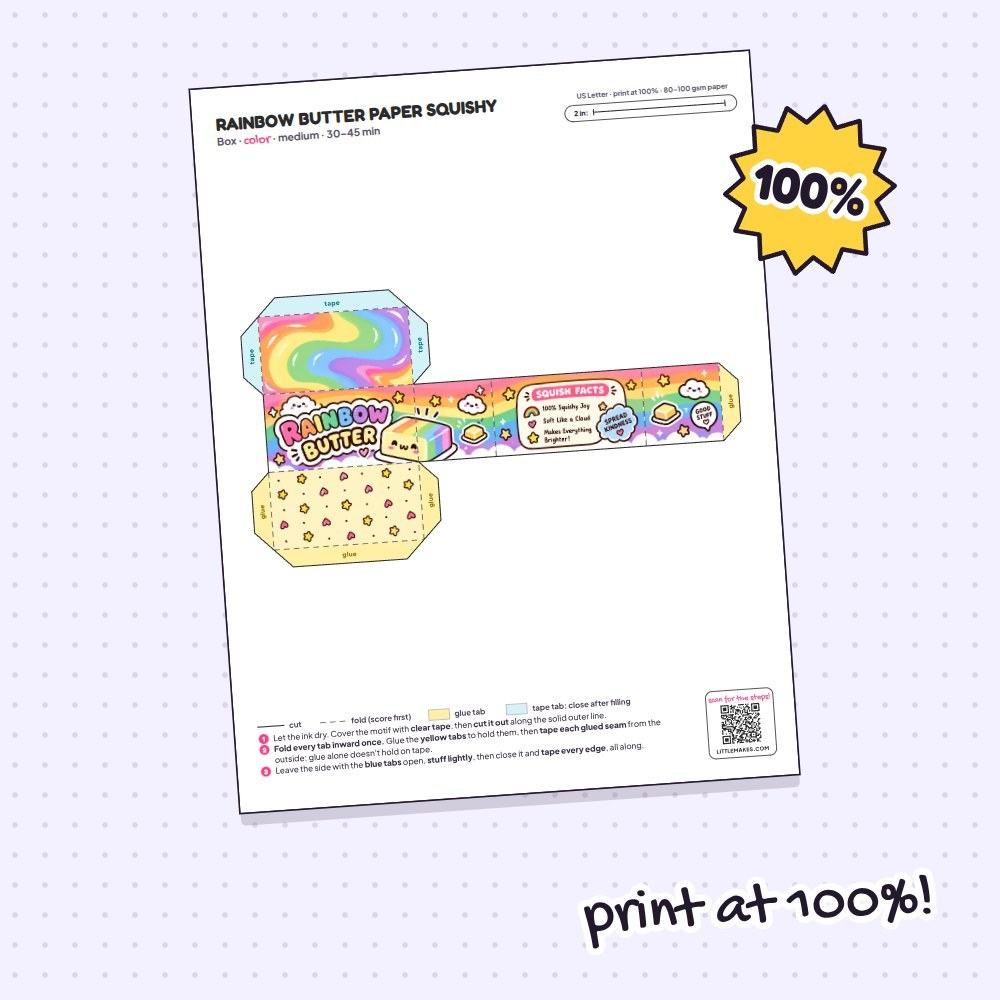
Print your chosen sheet at 100% on plain printer paper—make sure to turn off “fit to page” in your print settings. Check the scale bar in the top corner: it should measure exactly 2 inches (50 mm on A4). If you picked the coloring page or blank version, color in the rainbow stripes, clouds, and stars now before adding any tape.
2Tape the motif
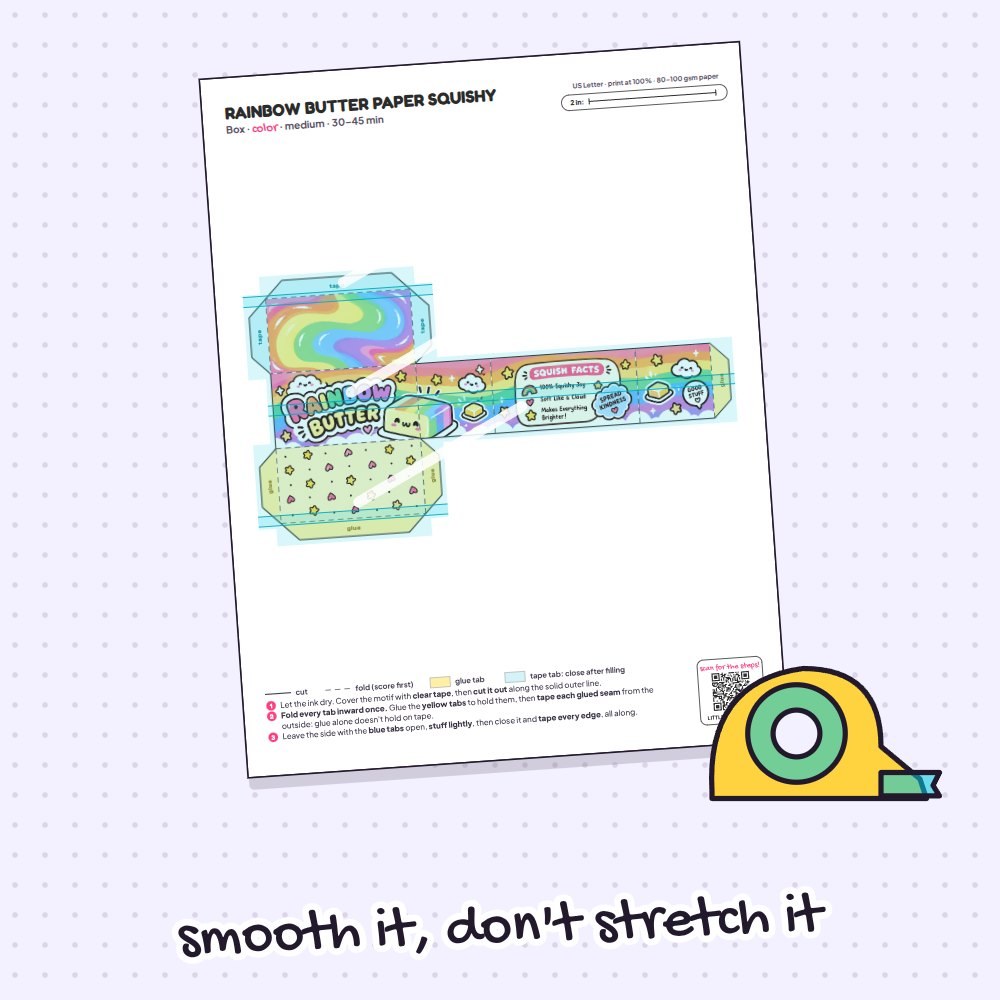
Lay strips of wide clear packing tape across the entire rainbow butter design, making sure to cover all the yellow and blue tabs too. Smooth each strip outward from the center so no air bubbles get trapped over the pastel artwork, and don’t stretch the tape as you lay it down.
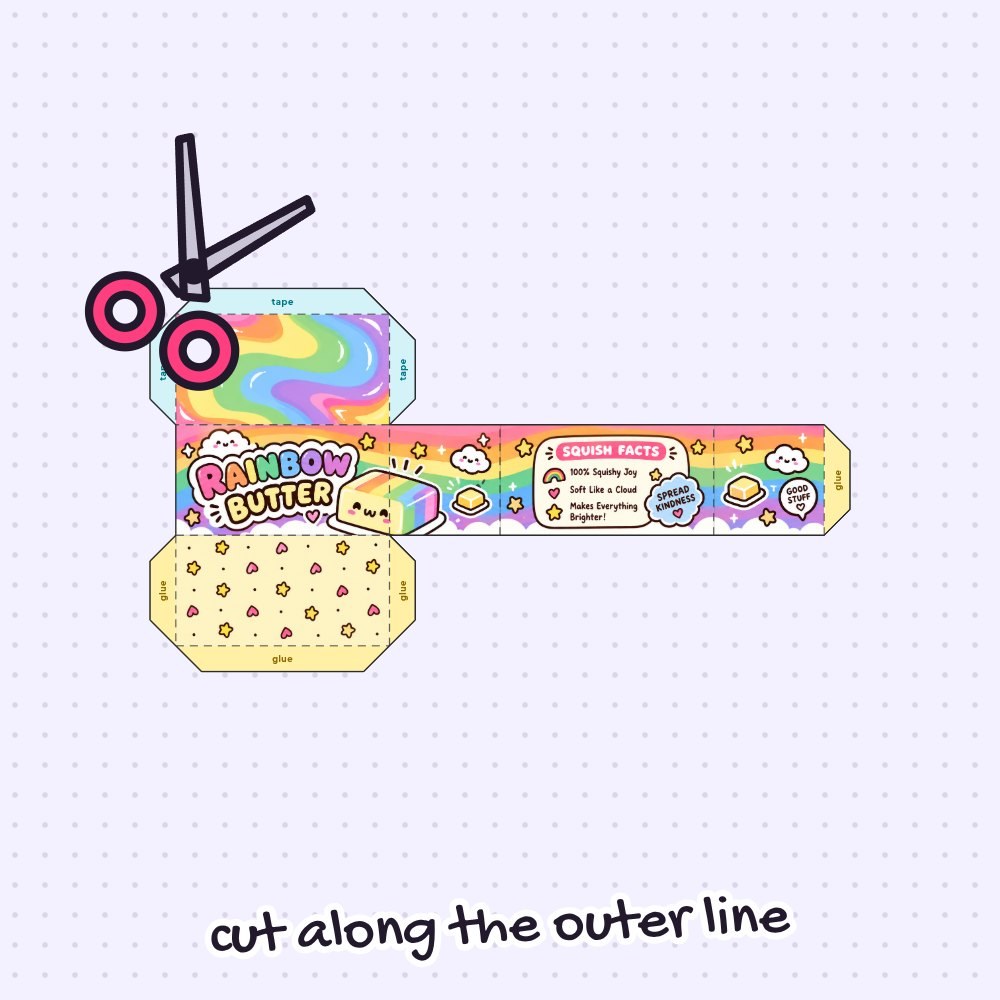
3Cut it out
Use your scissors to cut neatly along the solid black outer line of the template, keeping all the yellow glue tabs and blue tape tabs attached. Take your time around the angled tab corners, and make sure you don’t cut any of the dashed interior fold lines.
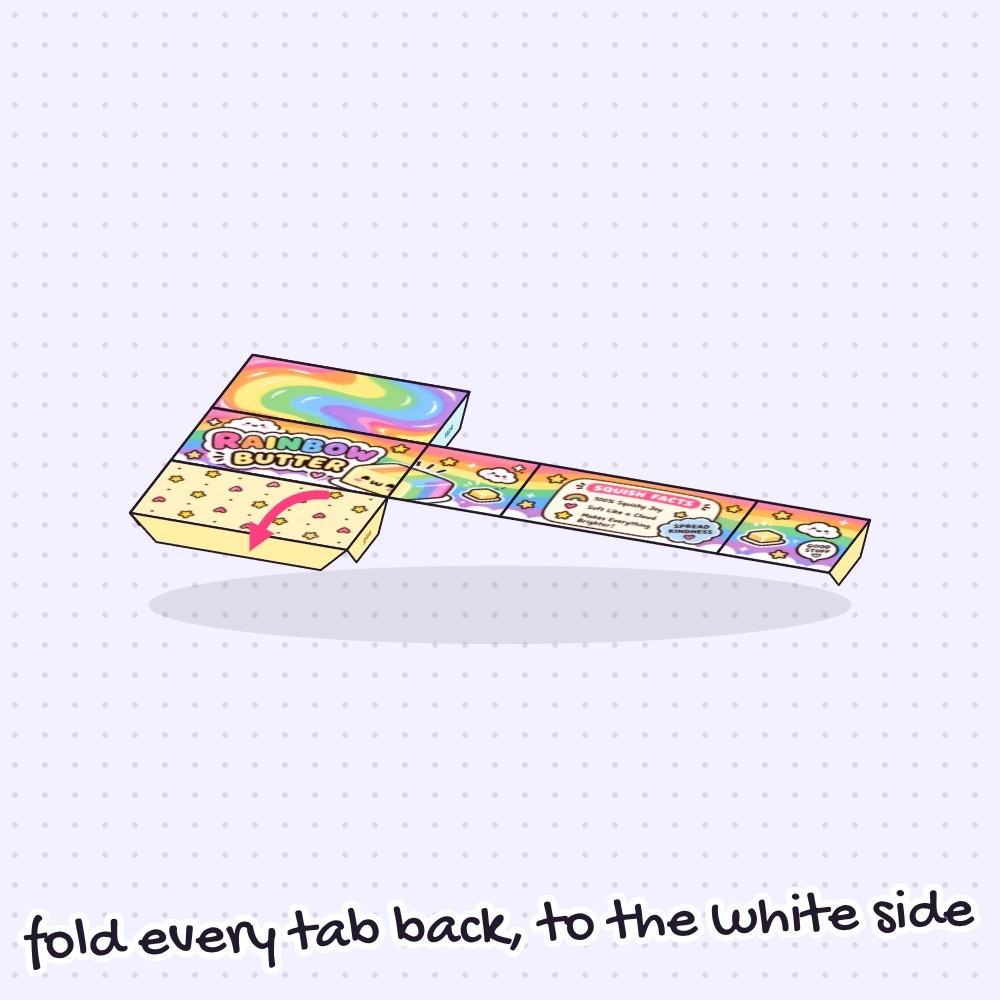
4Pre-fold every tab
Line up your ruler along each dashed line and score firmly with an empty pen. Fold every single tab and box edge inward toward the white back side once, then unfold it flat again. Taped paper gets stiff, so pre-creasing now gives your butter block crisp, sharp corners later.
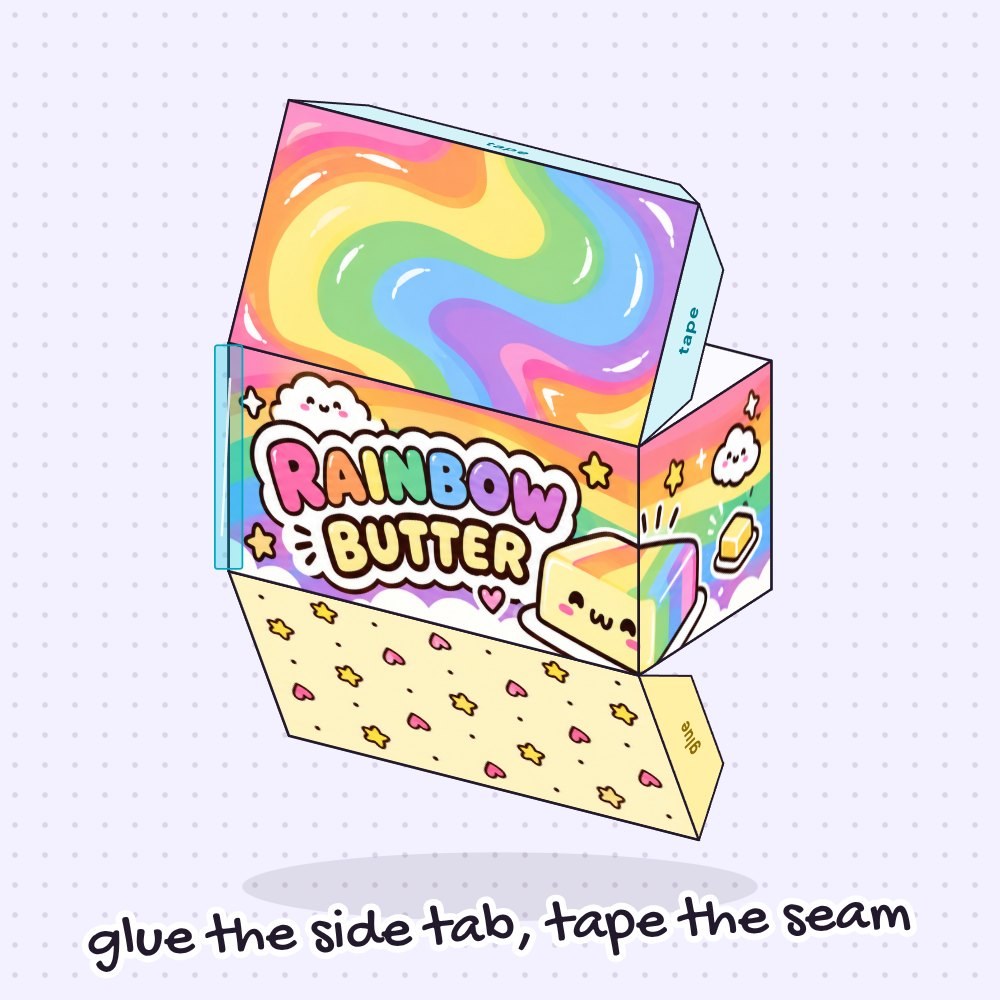
5Make the walls
Fold the main side panels into a rectangular ring with the rainbow artwork facing out. Put a dab of glue on the yellow side tab and press it inside to hold the ring together, then secure that vertical seam from the outside with regular clear tape along its whole length.
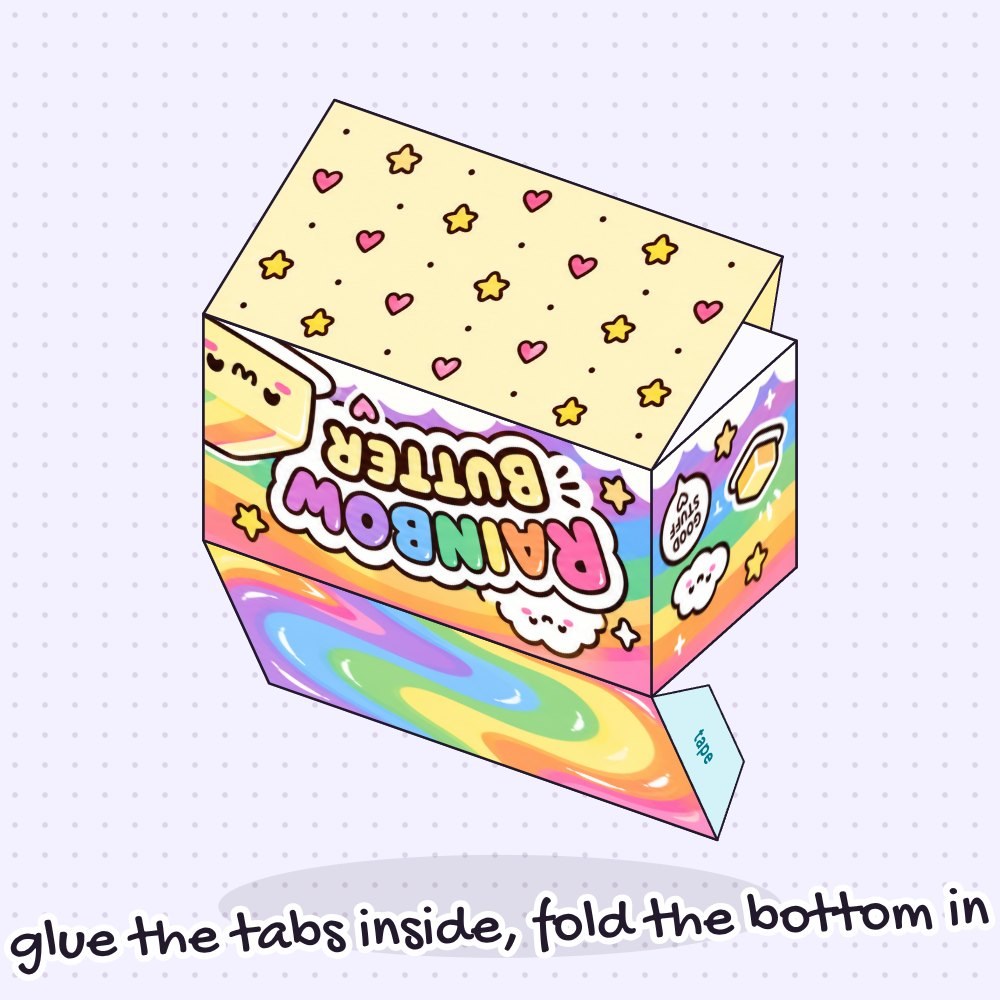
6Close the bottom
Spread glue on the 3 yellow tabs attached to the starry bottom panel. Fold the bottom flap shut and reach inside the open box to press those tabs firmly against the walls. Leave the swirled rainbow top panel with the blue tabs wide open so you can fill the box.
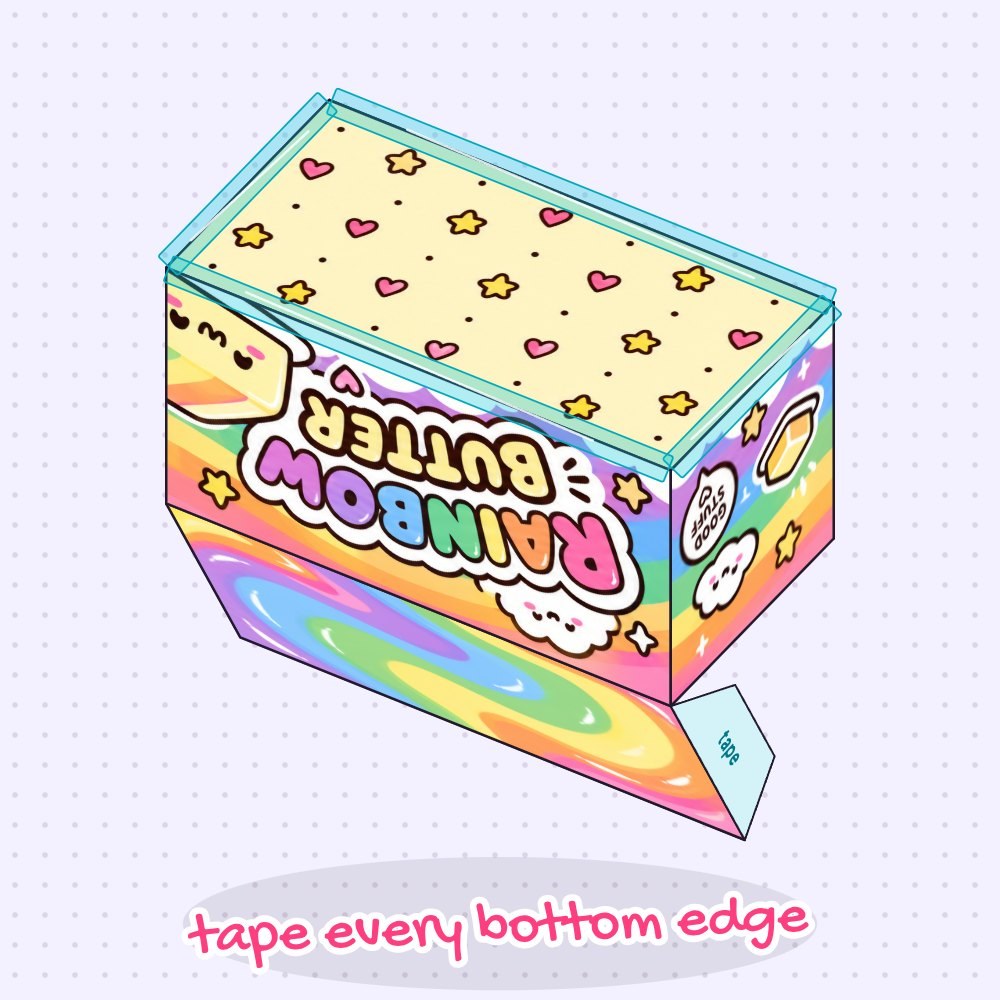
7Tape the bottom
Because glue alone won’t stick to slick tape for long, reinforce the base right away. Place strips of regular clear tape around the outside of every bottom edge, running all along the seams so the starry base stays completely sealed when you squish it.
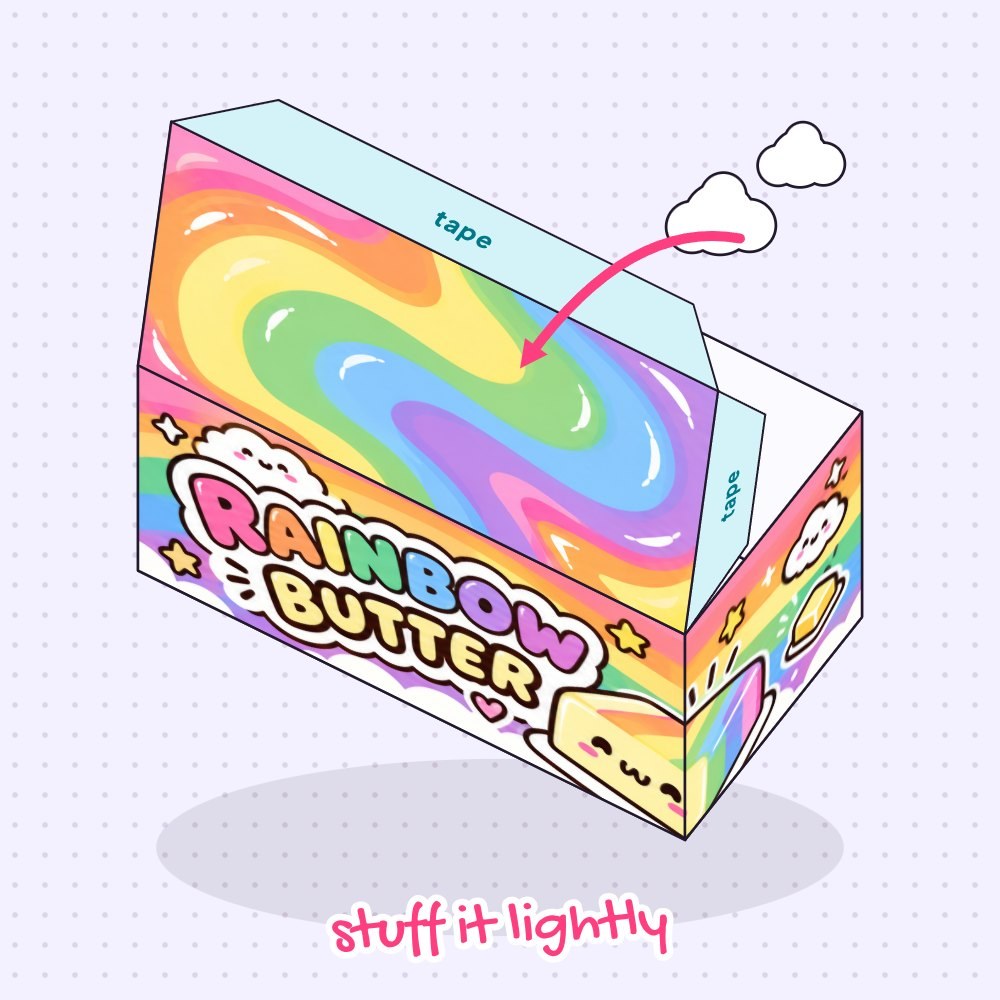
8Stuff it
Push small, loose scrunches of plastic grocery bag or fluffy bits of fiberfill in through the open top. Fill the corners gently and stuff lightly—if you pack it too tight, the flat butter wrapper sides will bulge out instead of staying neat and rectangular.
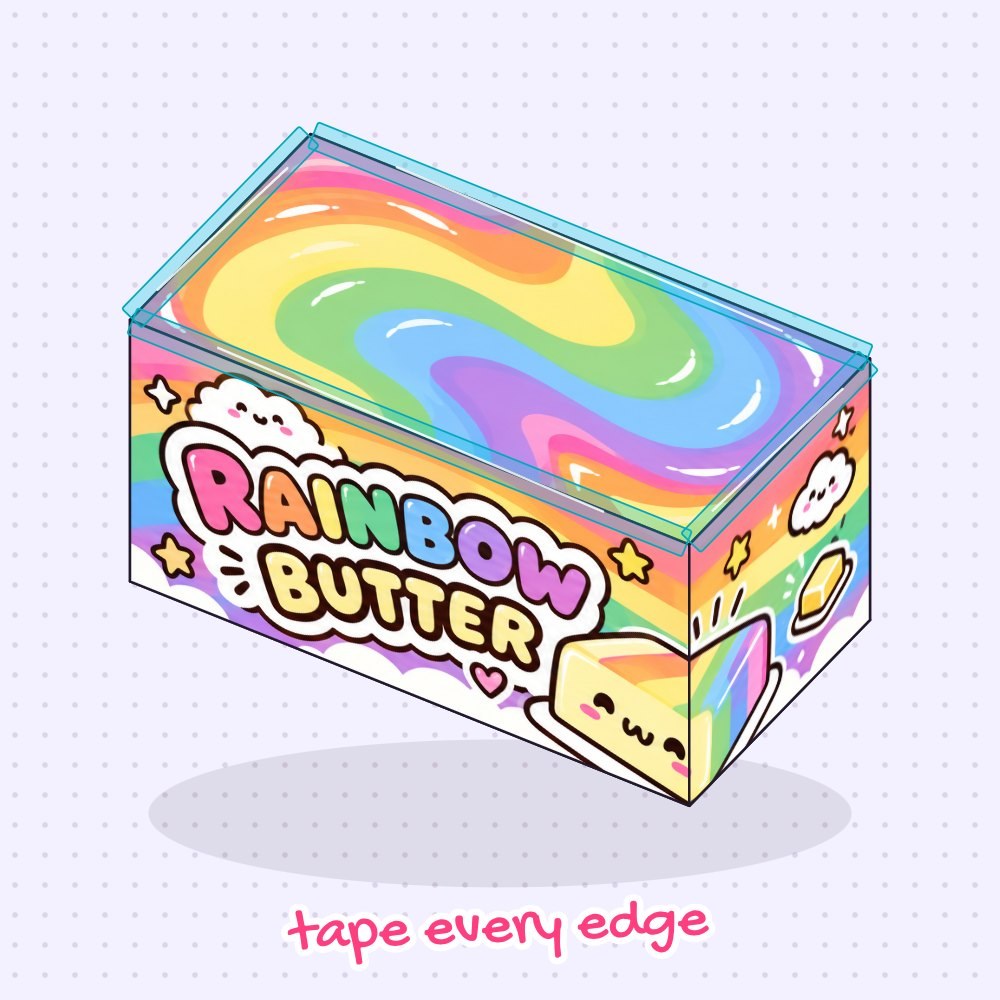
9Close it
Tuck the 3 blue tabs inward and fold the swirled rainbow top lid down to close the block. Hold the lid steady and seal every top edge from the outside with clear tape, running the tape all along each edge so no stuffing can poke out.
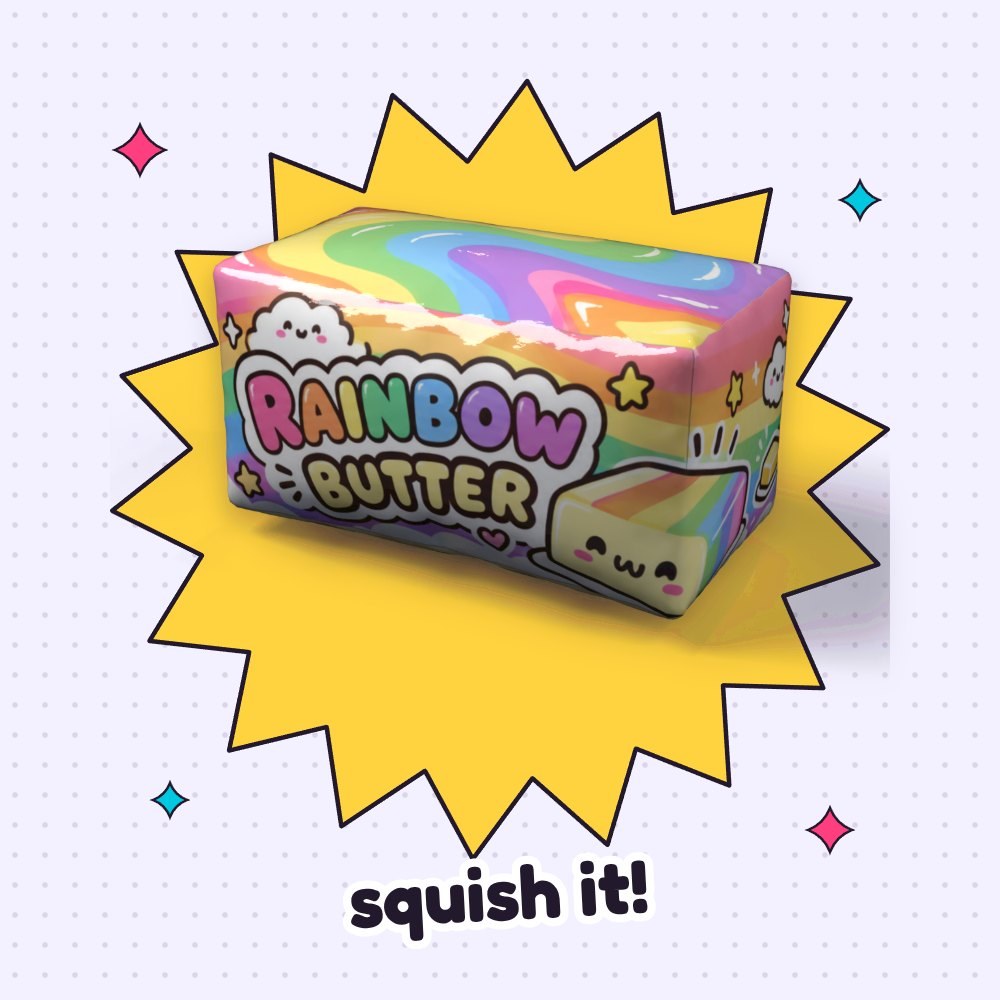
10Squish!
Your rainbow butter squishy is ready! Give the glossy block a gentle squeeze and watch it puff right back into shape. If you want an extra slow-rising feel, prick one tiny pinhole in a seam so the air escapes slowly.
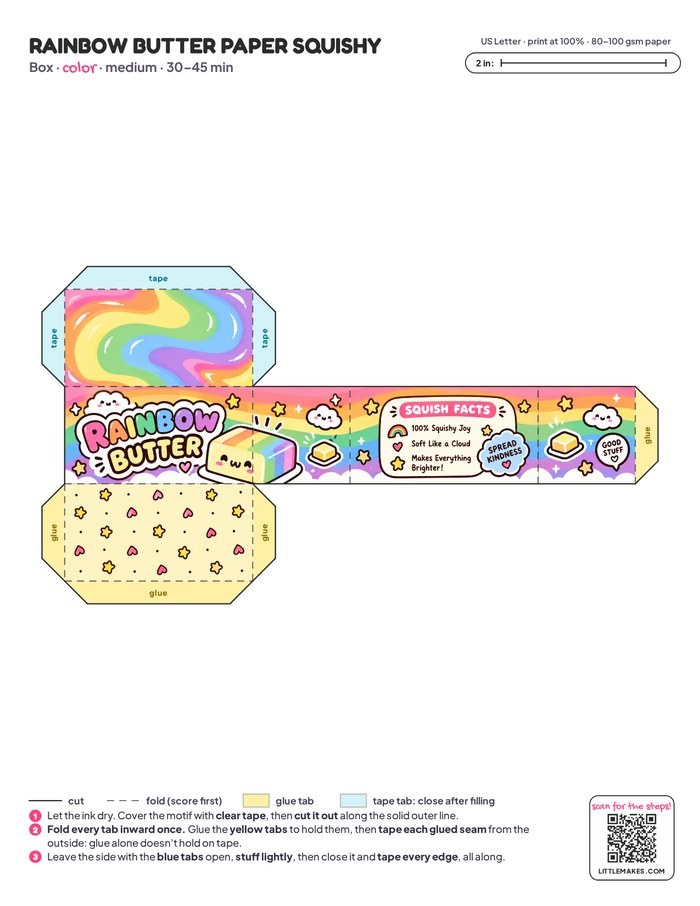
Free Rainbow Butter Squishy Template
- Color
- Coloring page
- Blank, design your own
- Step-by-step guide
One free PDF: the template in three versions (pages 1–3) and the step-by-step guide (pages 4–6). Print the template at 100% on plain printer paper.
Tips for the perfect squish
- The butter edges look rounded. To get crisp, blocky butter corners, score every dashed line firmly with an empty pen and a ruler before folding the taped paper.
- A corner seam pops open. Glue doesn’t hold on slick tape for long, so press a fresh strip of clear tape along the entire outside length of the seam.
- The wrapper sides bulge out. There is too much filling inside the box; take out a little stuffing so the rainbow panels stay flat.
- Tape wrinkles over the logo. Use shorter strips of packing tape and lay them down gently from the center without pulling or stretching.
Questions
How do you make a paper butter squishy without it popping open?
Glue only holds the tabs in place while you assemble the box, because it doesn’t stick to tape-covered paper for long. Always seal every glued seam and the final lid edges from the outside with strips of clear tape.
What paper works best for a butter paper squishy template?
Use plain printer paper (80–100 gsm / 20–24 lb). Heavy cardstock becomes too stiff to fold neatly once laminated with packing tape and won’t squish well.
What can I stuff my paper butter squishy with?
Plastic grocery bags give a fun, crinkly feel, while polyester fiberfill makes it super soft and plushy. Whichever you choose, stuff the rectangular shape lightly so the sides don’t bulge.
Can I print the template larger or make a matching set?
Yes, you can print the page larger on a bigger sheet of paper—since the net is one piece, all tabs will still match up. You can also print it at 100% alongside our pink butter squishy to build a whole pastel butter collection.
Can I make this craft with a classroom or party group?
Definitely! Print one sheet per kid, cut the clear tape strips in advance, and plan about 45 minutes so everyone can color the coloring page while you help with scoring and taping.
More paper squishies to make
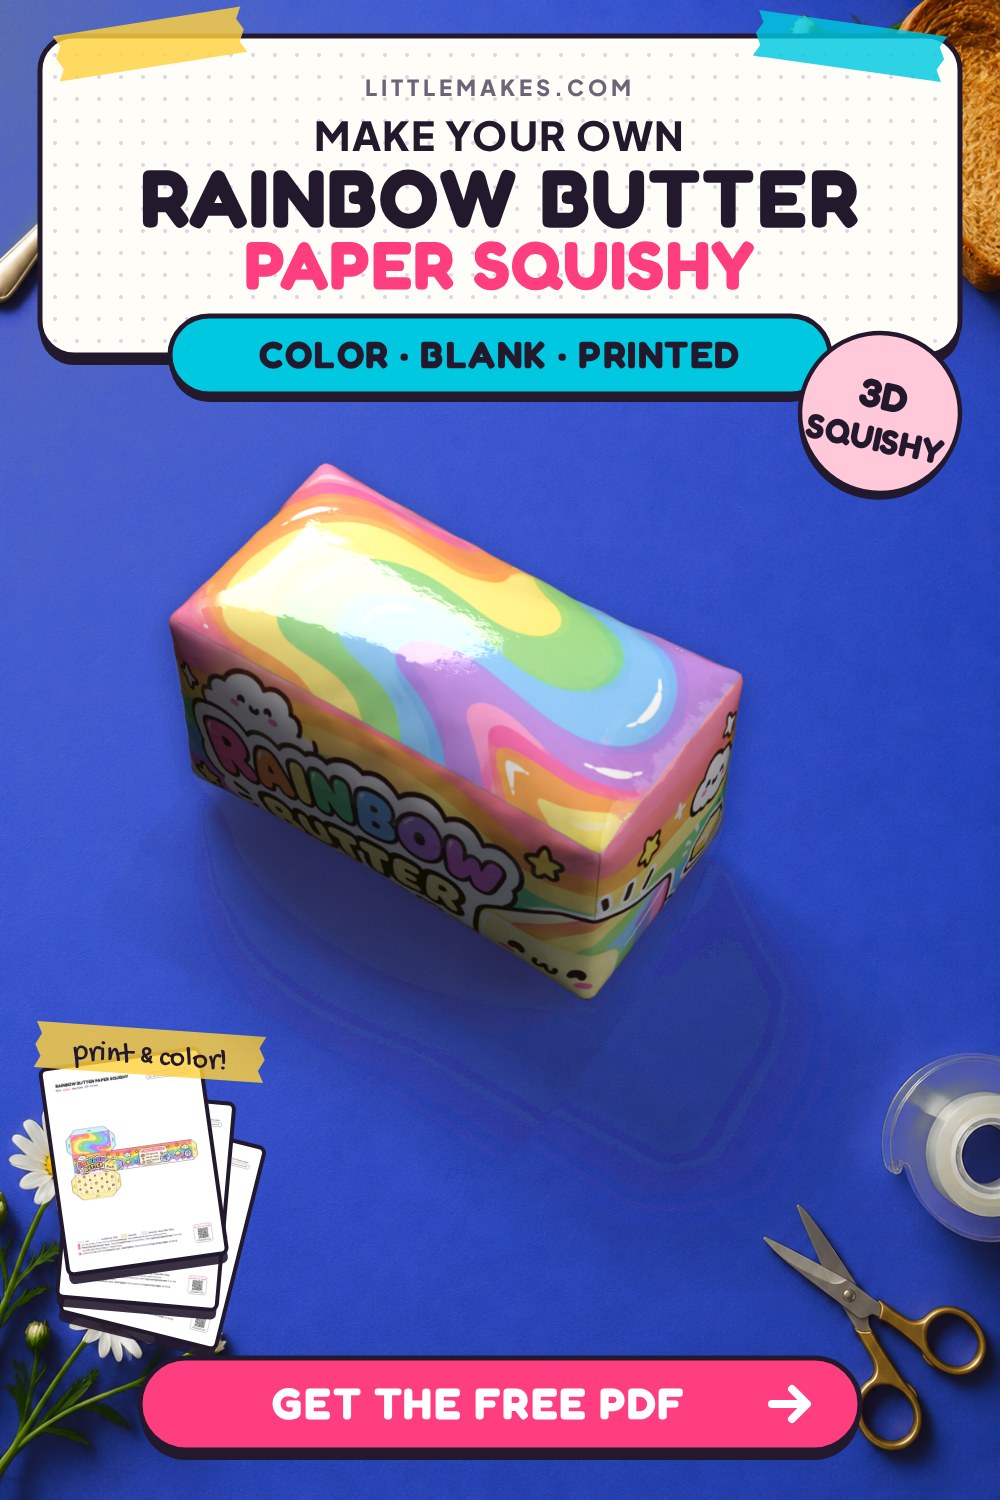
Pin this tutorial
Save it to your craft board so you can find the free template again.